Creating A Personal Touch in the Digital Age
You know how we’re all just bombarded with emails and texts these days? Well, isn’t there just something extra special about holding something real in your hands, something someone actually made?
That’s how I feel about homemade cards. It’s not just a piece of paper. It’s like a little piece of someone’s heart—a thoughtful “thinking of you” says so much about the person who made it and the person who received it.
Here at Wendy Crafts, I truly believe that getting creative can bring us closer, help us feel better, and just make us plain happy. And that’s why I’m so excited to share the fun of making your own cards with you!
The Dawn of a Crafting Hobby
My own crafting adventure began with a simple love for paper and the magic of telling stories, something I carried over from my background in journalism. There’s something so satisfying about sitting down to work with different kinds of crafting materials, especially when you’re creating something beautiful like a scrapbook page or a homemade card.
Discovering the exquisite designs of Anna Griffin was a real turning point for me, and when I finally got my Cricut Maker, well, my imagination just took flight!
Hobby? More Like Taking Over My Life (and House, But In a Good Way!)
For me, crafting isn’t just something I do; it’s a part of who I am. It’s how I let my feelings out, how I find a little bit of calm in the day, and how I connect with all of you lovely people. That little snip of the scissors, the gentle thump of a stamp—the whole creative process brings me a peaceful happiness.
What started as a little spark of interest has definitely grown into a full-blown crafting hobby that has, shall we say, enthusiastically taken over a good portion of my life and my house! But honestly, I wouldn’t trade it for the world.
I love the feeling of starting with a blank page and letting the inspiration guide me. Whether it’s a color I saw in a magazine, a pattern on a pretty dress, or the beauty of the leaves outside my window, there’s always something to spark an idea. The absolute best part is sharing those creations with others and seeing the joy they bring.
I believe everyone has a little bit of creativity tucked away inside them, just waiting to be discovered. It’s not about being perfect; it’s about enjoying the process, expressing yourself in your own unique way, and finding that little spark of joy. So, I encourage you to grab some paper, gather a few simple tools, and give this crafting hobby a try.
My Simple Guide to Making Homemade Cards
Making your own cards is absolutely doable, and it’s incredibly fulfilling. Cardmaking allows you to infuse your unique touch into each creation, making the person who receives it feel truly special and seen.
I’ll show you how easy it is to learn how to start crafting your own cards. No fancy secrets, just the steps I use myself! So, whether you’ve been crafting for ages or thinking, “Hey, that card-making thing sounds kind of fun,” this guide is for you!
Let’s get started together!
1. Pick The Perfect Paper For Your Homemade Cards
The first thing you’ll want to think about is your paper. After all, it’s the canvas for your creativity, right? There are just oodles and oodles of choices, each with its own unique charm.
As you’re evaluating your paper options, here are a few things to keep in mind:
- Cardstock Weight: For the base of your card, you’ll want something with a bit of substance, so the finished card feels nice and sturdy in your hand. To give your homemade cards a professional feel, look for cardstock that’s around 80lb to 110lb.
- Color and Pattern: The color and pattern of your paper really set the mood for your card. Solid colors are elegant and timeless, while patterned papers can add a fun pop of personality. At the same time, don’t be shy about mixing and matching!
- Texture: Have you noticed how different papers feel to the touch? Some are smooth as silk, while others have a lovely texture like linen or little raised designs. Texture can add such a delightful visual and tactile element to your cards.
- Size: There are a few standard sizes for cards, like the A2 (folds to about 4.25 x 5.5 inches), the A6 (folding to around 4.5 x 6.25 inches), and the good old A7 (for 5×7 inch cards). Pick a size that feels right for your design and the message you want to share.
When you’re just starting out, it’s a good idea to have a little collection of different colored cardstock and some pretty patterned papers. That way, you’ll have plenty of options to play with!
2. Gather Your Essential Crafting Tools
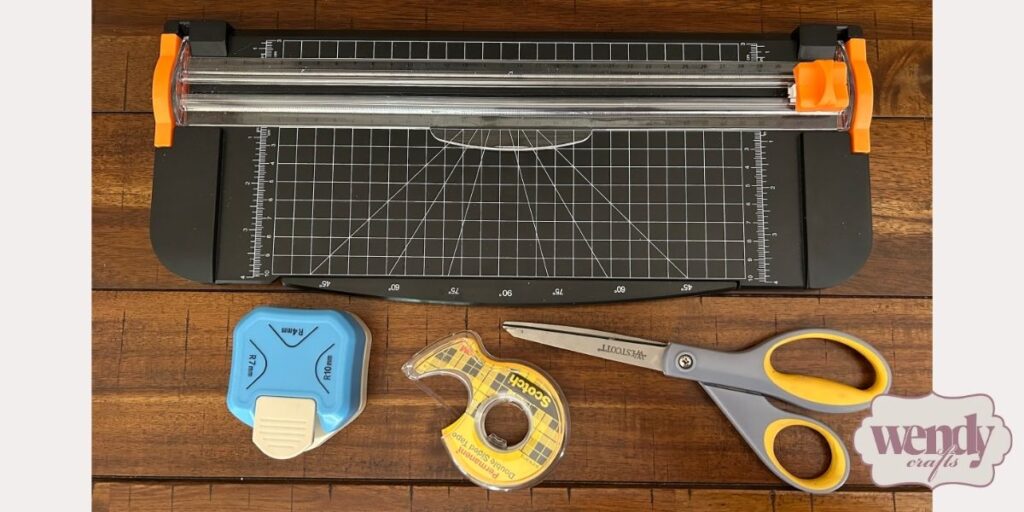
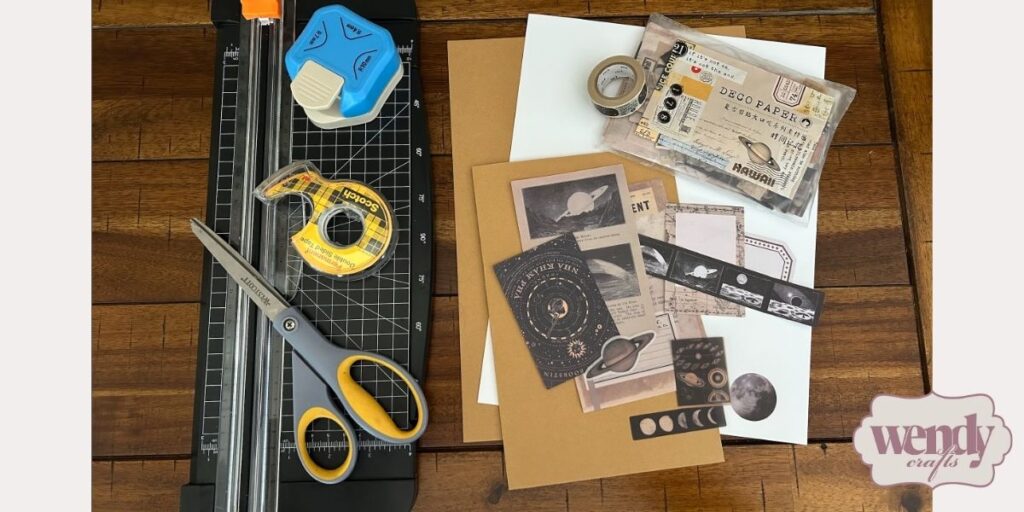
When learning how to craft your cards, you’ll need a few little helpers—your tools! But you don’t need to spend a fortune, especially when you’re just dipping your toes in. Here are the basics I couldn’t live without:
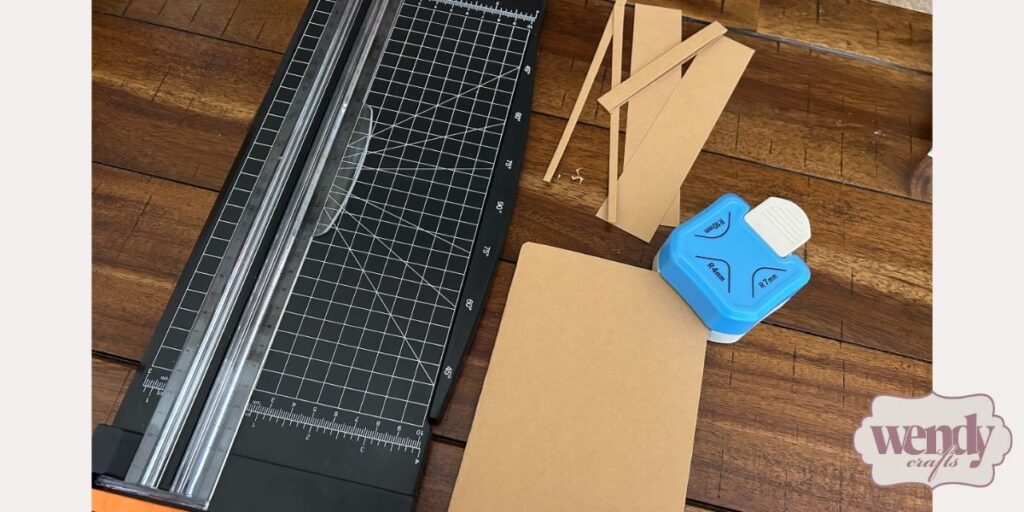
- Paper Trimmer or Scissors: A good paper trimmer will give you those nice, clean, straight edges that make your cards look polished. But if you don’t have a paper trimmer, some sharp scissors will do the trick.
- Scoring Tool and Bone Folder: Scoring is like magic! It’s just creating a little crease line before you fold your cardstock. This makes sure you get a nice, crisp fold instead of a bumpy one.
- Adhesive: You’ll need something to hold all your lovely layers together. Double-sided tape is a wonderful starting point—it’s nice and secure and not too messy. You can also experiment with glue dots, liquid glue (just use it sparingly!), and foam tape if you want to add a little bit of dimension.
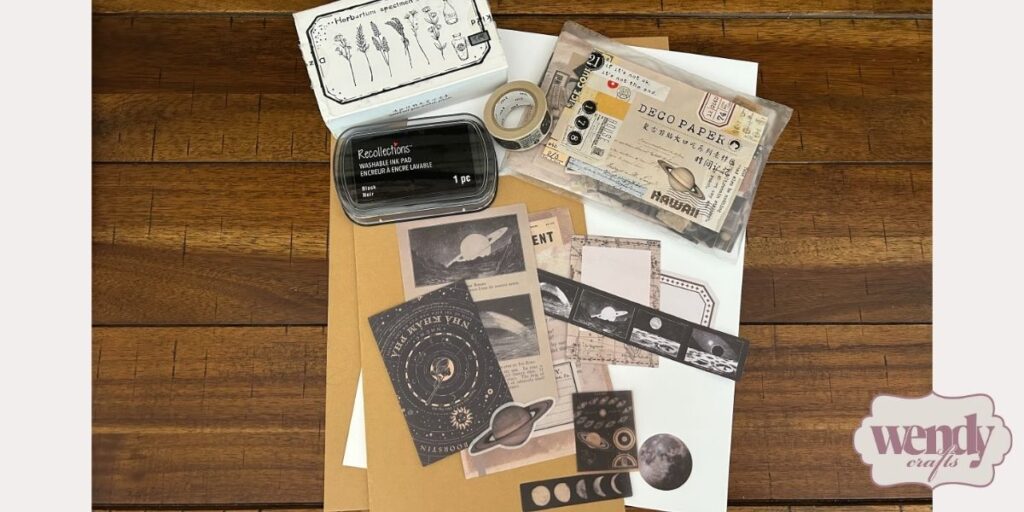
- Embellishments (Optional): This is where you can really let your personality sparkle! Think ribbons, buttons, sweet little stickers, die-cut shapes, sparkly gems, and maybe some stamps. Start with a few things that catch your eye, and as your crafting skills grow, so will your collection!

3. Start Simple with Your Card Designs
When you’re just learning how to make cards, the best approach is to keep it sweet and simple. You don’t need to create the Mona Lisa of cards right away! Focus on clean layouts, a good balance of elements, and placing things where they look just right.
Here are a few easy design ideas to get your imagination going:
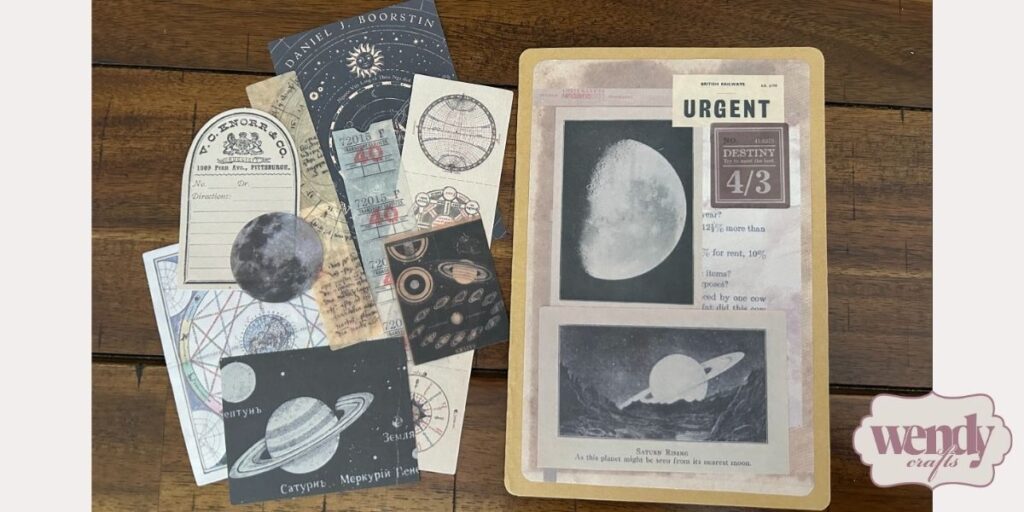
- Layered Paper: Cut out different shapes or panels of those pretty patterned or colored papers you chose and layer them on your card base using adhesive. This is a great way to use up little scraps and add some lovely visual interest.
- Focal Point: Pick one main thing you want people to look at—maybe a stamped flower, a cute die-cut shape, or a pretty sticker—and build your design around it. Keep the rest of your card simple to let your main image or element be the star of the show!
- Simple Sentiments: You can find the sweetest pre-made sentiment stickers or stamps to add your greeting. Or a heartfelt, handwritten message makes a lovely touch.
- Adding Texture: Don’t forget texture! A little piece of ribbon, some embroidery, twine, or even paper with a raised design adds an irresistible tactile element to your cards.
The most important thing is to enjoy the process and create something that comes from the heart. Don’t put pressure on yourself for perfection when you’re just starting out on this fun crafting adventure.
4. Personalize Your Homemade Cards
Now, this is where the real magic happens! The beauty of homemade cards is that there are countless ways to make them personal. Take a moment to think about who you’re making the card for and add touches that reflect their personality and your relationship.
You can add personalization to your cards by doing any of the following:
- Choosing Colors They Love: If you know their favorite color, try to incorporate it into your design to show you’re really thinking of them.
- Using Themes Relevant to Them: Do they adore gardening? Maybe add some little floral elements. Are they big fans of a certain animal? See if you can find a cute sticker or die-cut.
- Handwriting Messages: A handwritten message to the person shows you’ve taken the time to put your thoughts and feelings down on paper.
- Referencing Inside Jokes or Shared Memories: If it feels right, a little nod to a funny memory you share can make the card extra special.
These personal touches are what make homemade cards so meaningful and treasured. My greatest joy comes from knowing that my creations can make someone feel seen, valued, appreciated, and loved—personalization is a big part of that.
Want More Wendy Crafts? Come Join My Community of Creativity!
Learning how to make cards is just the doorway to a whole world of creative fun! I hope this has sparked a bit of creative curiosity in you and maybe even inspired you to gather some paper and give it a go. Remember, it’s not about perfection; it’s about the joy of creating and the connection you make when you share something handmade.
At Wendy Crafts, I wish to build a warm and welcoming community where we can all share our love of crafting and support each other on our creative journeys. I believe in the wonderful, healing power of creativity and the joy of sharing what we make.
For more creative ideas and updates on the Wendy Crafts journey, follow me on social media!