At each class, I meet crafters of varying skill levels and backgrounds. Card makers and scrapbookers aren’t the only ones signing up!
I have been fortunate to meet advanced quilters, those who excel in knitting and crochet, painters, woodworkers, and even photographers.
And each time, I learn something new about those areas of creativity — and offer a little creative know-how in return.
Junk journaling falls beautifully across all creative areas; the basic premise is picking pretty items, papers, and ephemera to adorn a page all your own.
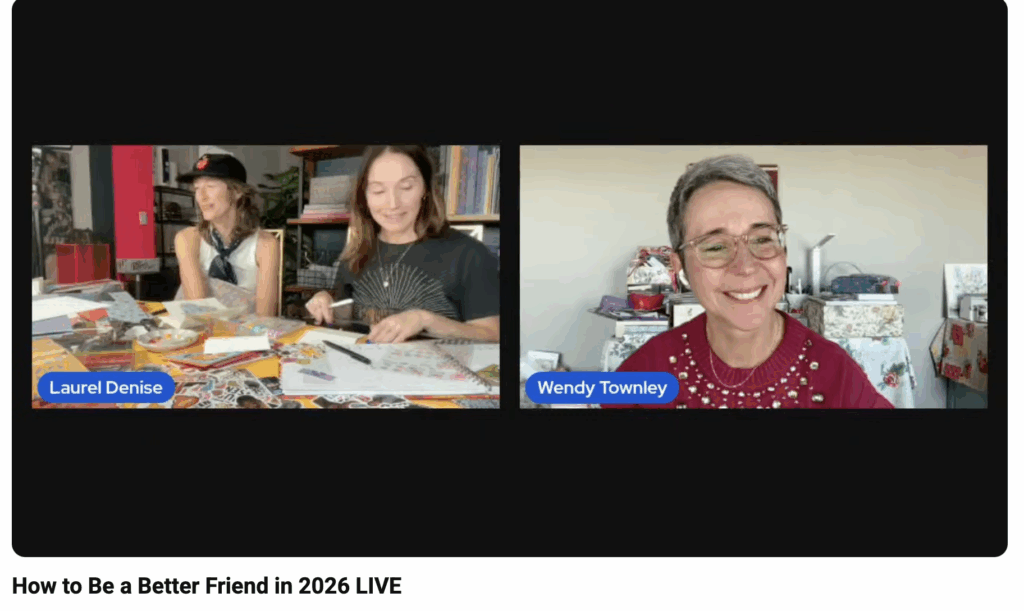
Following our recent live chat about creativity and our mental health, Andrea and I agreed to keep the crafty conversation going with all of you. (Watch the replay on YouTube.)
A list of suggested junk journal supplies you’ll want to have handy is below, but you’re encouraged to comb through your own craft stash for our time together.
Junk journaling is the PERFECT opportunity to use your scraps, your leftovers, the embellishments you purchased but that never found a final home. (It’s a great time to experiment with new techniques and adhesives, too.)
My co-hort in crafting — every day AND on Saturday, May 16 — is the wonderful Andrea Lake.
Andrea is kind, creative, effervescent, inspirational, and just as nice as you’d imagine. We became fast friends after meeting last fall and have brainstormed creative collaborations ever since!
Andrea is a scrapbooker, creative educator, and fellow junk journaler. Her YouTube channel is filled to the brim with tutorials and colorful inspiration.
What Are the Best Cardmaking Supplies for Homemade Cards?
Craft Supplies
The best cardmaking supplies are key to stunning handmade cards. Explore cardstock, paper, embellishments, and tools for crafting unique designs today!
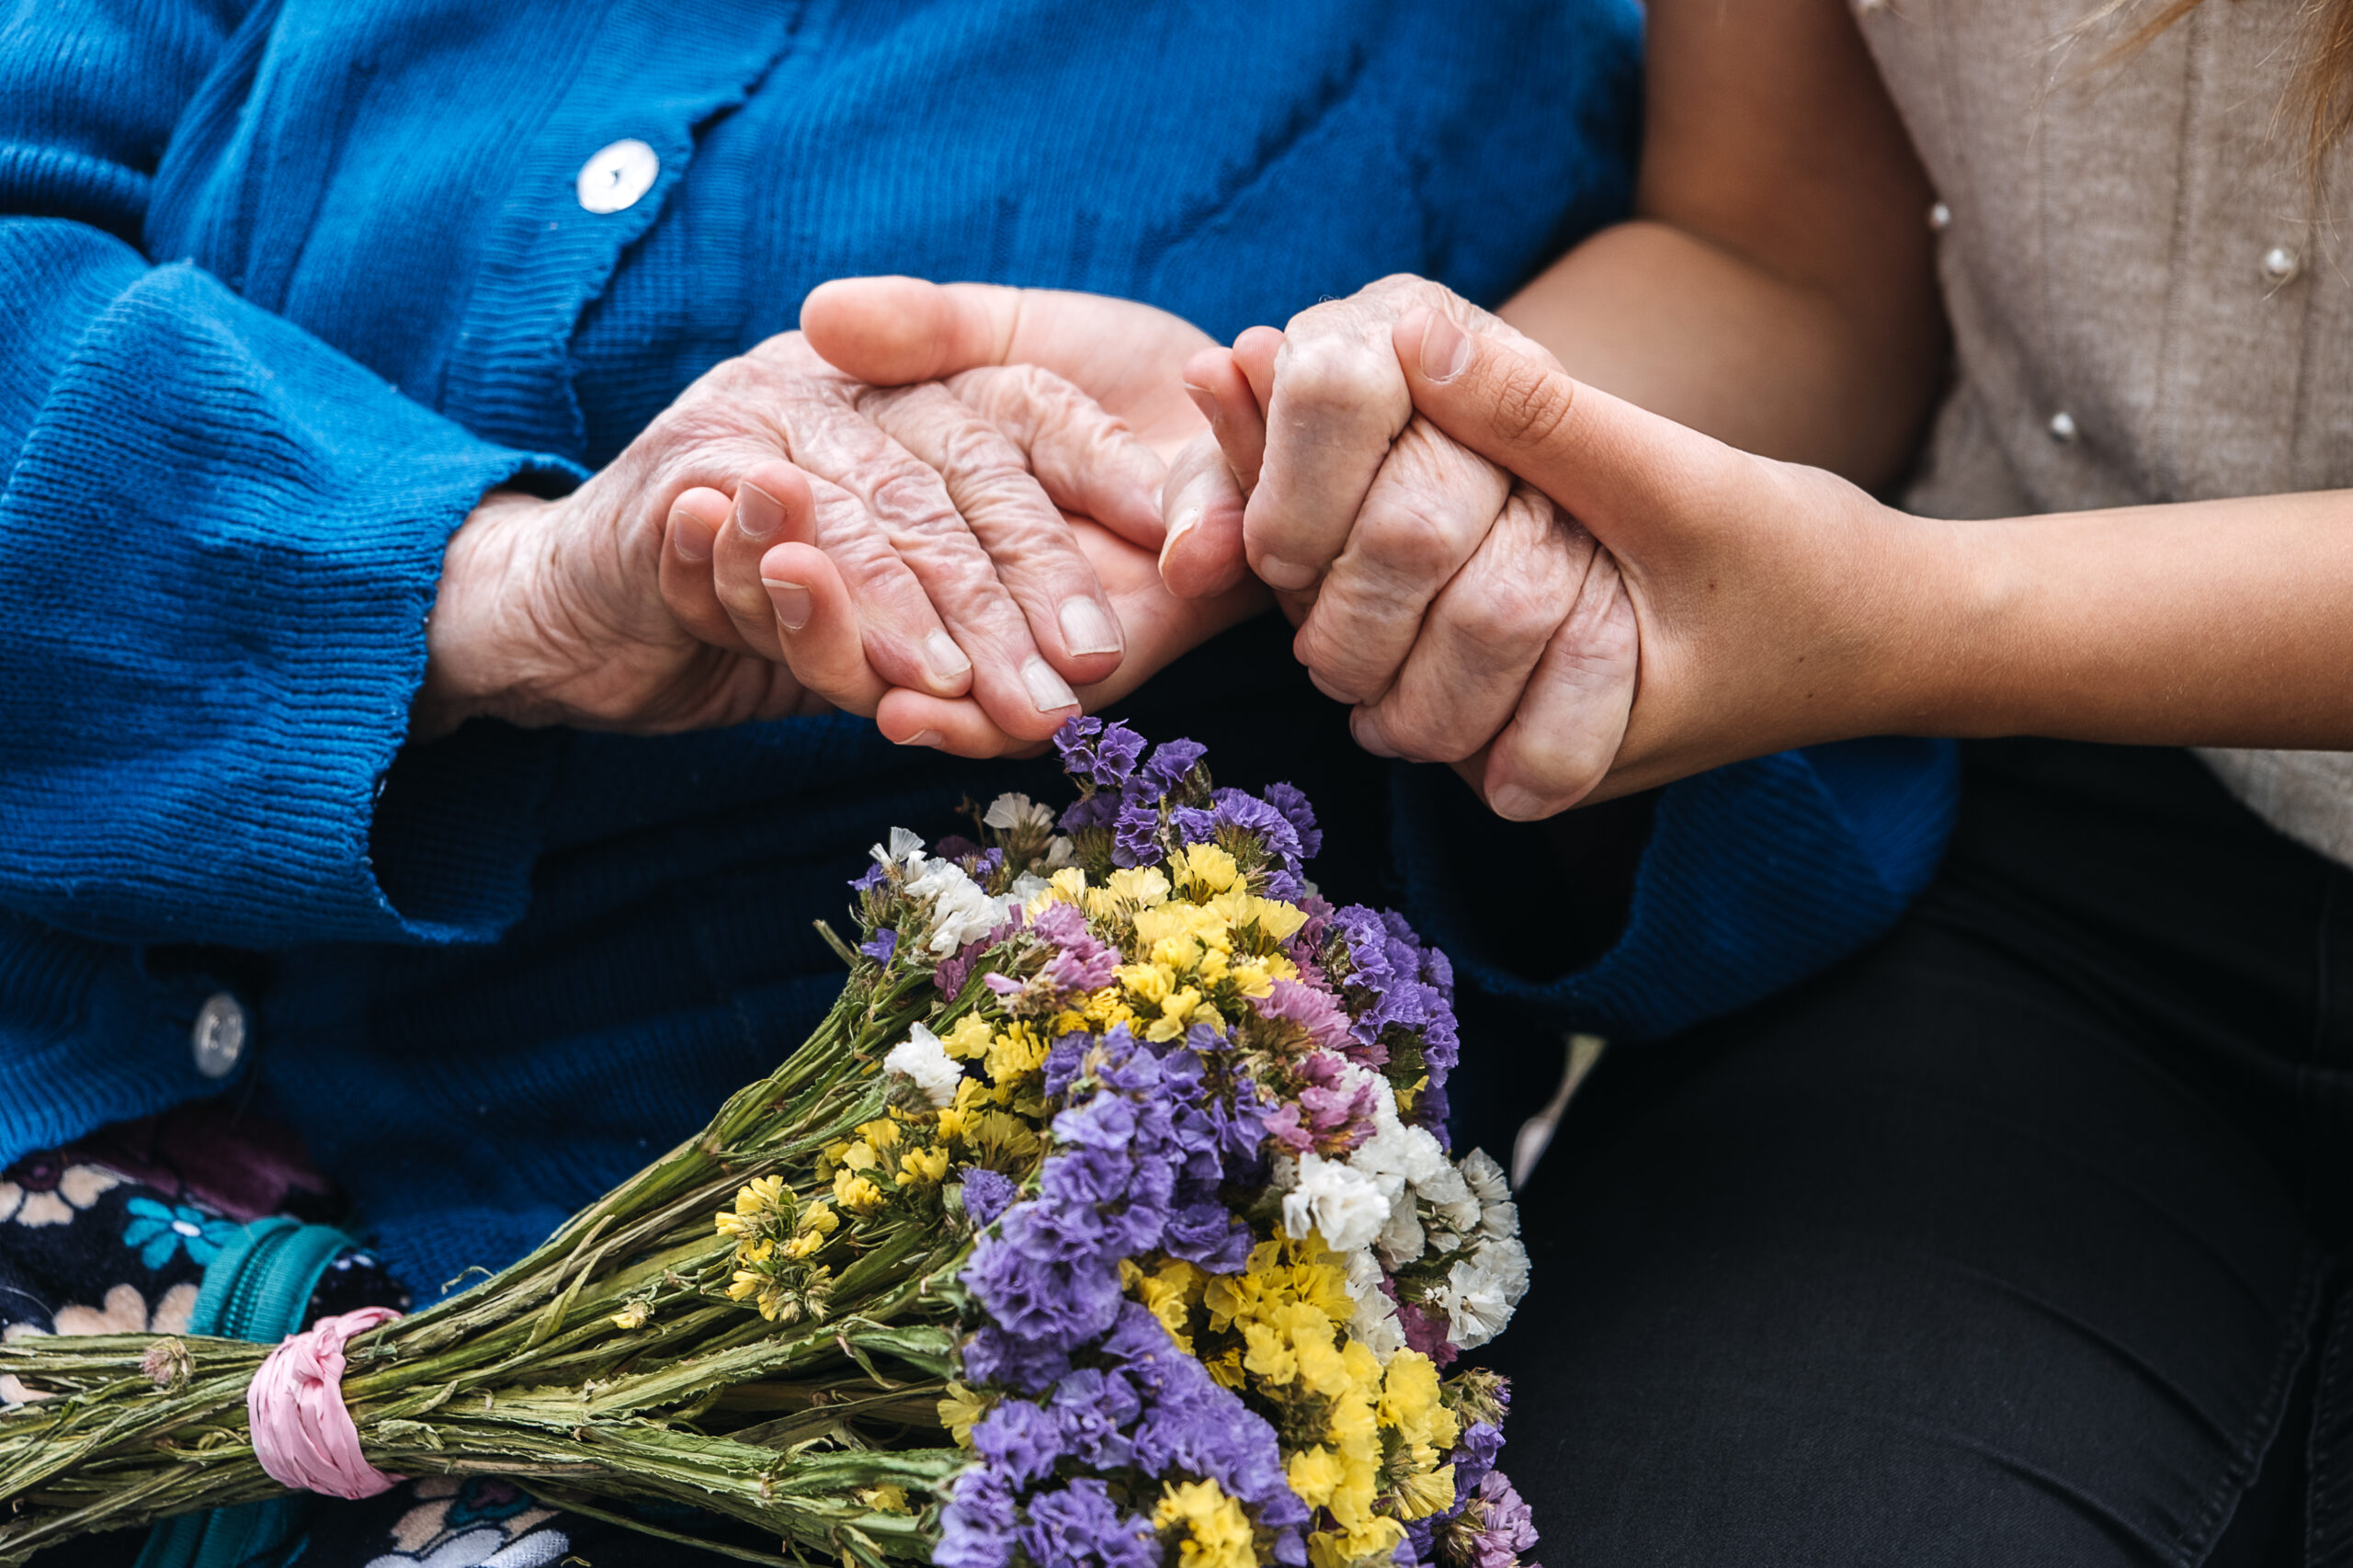
There’s a quiet kind of exhaustion that doesn’t always get named.
It’s not just being tired, but being needed from every direction.
You’re helping your kids navigate their world while also checking in on aging parents. You’re managing appointments, emotions, responsibilities, and expectations, often without much space to process your own.
If this feels familiar, you may be part of what’s often called the sandwich generation – those caring for both the next generation and the one before them at the same time.
And while it’s a role filled with love and purpose, it can also feel incredibly heavy.
The Weight You Carry (That Others Don’t Always See)
You carry emotional weight for multiple people at once
And over time, this can lead to something deeper than stress; it can lead to emotional depletion. Not because you’re doing something wrong, but because you’ve been doing too much for too long without enough support.
Why Self-Care Feels So Hard Here
Self-care sounds simple in theory.
But when you’re caring for others, it can feel:
Selfish
Impractical
Like “one more thing” on your list
Or even impossible
You might think:
“I’ll take care of myself when things slow down.”
But for many in this season, things don’t slow down. Which means self-care has to shift from something extra to something essential.
Redefining Self-Care in This Season
Self-care doesn’t have to mean long breaks, spa days, or time you don’t have.
Sometimes, it looks like:
Saying “not today” or instead of always saying yes
Incorporating care into your schedule, instead of dropping everything at once to attend to a need
Using your “me time” wisely
Letting something be “good enough” instead of perfect
Asking for help, even if it feels uncomfortable
Not absorbing every emotion around you
Self-care, in this season, is less about escape – and more about sustainability.
You Are Allowed to Have Needs Too
One of the hardest parts of caregiving is this unspoken belief:
“Everyone else needs me more.”
But your needs don’t disappear just because others have needs.
You are not just a caregiver. You are a person.
And when your emotional, mental, and physical reserves are constantly depleted, it doesn’t just affect you; it impacts how you’re able to show up for others too.
Boundaries Are Not a Failure of Love
Boundaries can feel uncomfortable, especially if you’re used to being the reliable one.
But boundaries are not about pushing people away. They’re about creating space where you can continue to care without burning out.
Boundaries might look like:
Not answering every call immediately
Delegating responsibilities when possible
Setting limits on how much you can emotionally carry
Choosing rest without guilt
Caring for others should not require losing yourself in the process.
If You Feel Stuck in the Middle
If you feel pulled in multiple directions. If you feel like you’re constantly holding everything together. If you feel unseen in the middle of it all.
You’re not alone.
And more importantly: you’re not meant to do this without support.
A Gentle Reminder
You don’t have to earn rest. You don’t have to prove your worth through how much you carry. And you don’t have to do everything for everyone, all the time.You are allowed to care deeply for others- and still care for yourself, too.
Reflection Questions
Take a moment to pause and gently check in with yourself.
Where in my life am I giving the most right now- and where might I be running on empty? (Notice this without judgment, just awareness.)
What is one small way I can care for myself this week that feels realistic, not overwhelming? (Think sustainable, not perfect.)
Is there something I’ve been carrying alone that I might need support with? (What would it look like to let someone in, even just a little?)
About Holly Rohring
Holly Rohring (@heyitscounselorholly) has over 10 years of experience as an educator and has been working in the mental health field since 2019. She has worked with teens and families in PHP/IOP settings, providing her with experience in the following areas: suicidal ideation, self-harm, psychosis, depression, anxiety, behavioral issues, academic/school concerns, family dynamics, parent/child relationships, personality disorders, mood disorders, adjustment disorders, and couples therapy.
Holly’s areas of specialty include: Cognitive Behavioral (CBT), Trauma-informed care, Exposure Response Prevention, Solution-Focused techniques, and Christian Counseling. She has the following trainings: Gottman Level 1 & Treating Affairs/Trauma, and Certified Clinical Anxiety Training.
In 2025, Holly and her twin sister, Heather Kell of Kell of a Plan, released their first Mental Health Journal. Intended for use individually or in tanedem with a counselor or therapist, the journal offers the following sections.
Mental Health Weekly Check-Ins: Foster self-awareness and track your emotional well-being.
Daily Mood Journaling: Use an emotion wheel and prompts to reflect on your feelings each day.
Fighting Anxiety: Confront and process stressors with practical, calming tools.
Gratitude Journaling: Cultivate a positive mindset through daily gratitude reflections.
Coloring Sheets: Embrace mindfulness and relaxation with calming, creative outlets.
Therapy Notes: A space to jot down key takeaways from therapy sessions or mental health insights.
Holly is a Licensed Professional Counselor who works to meet individuals and couples where they are. She believes that every client can build the life they desire and is passionate in aiding them to weather the storms of life.
Articles that might interest you
Explore related articles that expand on the topics covered in this post. Dive deeper into insights and ideas that might interest you.
By Holly Rohring (@heyitscounselorholly) We’ve all done it. You get into your car and start the familiar drive home from work—the same route you take every single day. If asked,…
By Holly Rohring (@heyitscounselorholly) We have all been there. On the receiving end of that story from that friend. We keep our focus on them as they retell the story…
By Holly Rohring (@heyitscounselorholly) The Hamster Wheel It starts with a simple text: “Can we talk later?” Five small words — harmless, right? But before you know it, your mind…
Maybe you’re overwhelmed. Maybe you’re exhausted in a way sleep doesn’t fix. Maybe your thoughts feel heavy or hard to organize. Maybe you’re carrying stress, grief, anxiety, or something you can’t quite name.
When you’re struggling mentally or emotionally, the question often becomes:
What am I supposed to do with this?
Many people jump straight to one of two extremes:
Ignore it and hope it passes.
Or assume something is deeply wrong with them.
But there is a gentler, healthier middle path.
Start With Support
Before we talk about counseling, it’s important to acknowledge something:
We were never meant to do life alone.
One of the most protective factors for mental health is safe, personal connection.
This might look like:
Talking to a trusted friend
Sharing honestly with your spouse or partner
Reaching out to a mentor or pastor in your faith community
Letting a family member know you’re not okay
Joining a small group or support community
Support doesn’t mean someone fixes it for you.
It means:
You are not alone in it. Your experience is witnessed by someone else. Someone can hold hope when yours feels shaky.
Isolation tends to amplify distress. Connection helps regulate it.
Sometimes the first step isn’t solving anything. It’s simply letting someone know you’re struggling.
Build Awareness Before You Burn Out
Many people wait until they are overwhelmed before paying attention to their mental health.
But emotional health works much like physical health.
We don’t wait for a medical crisis to care for our bodies. We monitor, adjust, and respond along the way.
This is one of the reasons my sister and I created the Kell of a PlanMental Health Journal – to give people a simple, approachable way to:
Track emotional patterns
Notice stress triggers
Identify mood shifts
Process thoughts safely
Build mindfulness around their inner world
Sometimes clarity begins simply by slowing down long enough to notice:
What am I carrying today? What is draining me? What is helping me cope?
This kind of intentional reflection can prevent emotional buildup from turning into burnout. Check out the journal here: Mental Health Journal.
Know When to Seek Counseling
Support systems are powerful, but they are not the same as professional care.
There are times when added support becomes necessary.
You might consider counseling when:
The same struggles keep resurfacing
Your coping tools aren’t working anymore
Emotions feel overwhelming or unpredictable
Anxiety, sadness, or anger feels constant
You’re withdrawing from life or relationships
You feel stuck in patterns you can’t shift
Counseling isn’t a last resort.
It’s not a sign of failure.
It’s not something reserved only for a crisis.
Counseling Is an Investment In Your Health
We often prioritize physical health without hesitation.
We have been known to:
Go to the doctor
Exercise
Take vitamins
Address symptoms early
But when it comes to emotional health, many people delay care – sometimes until the distress becomes unmanageable.
Counseling is not just about fixing problems.
It’s about:
Strengthening resilience
Processing pain safely
Learning new emotional skills
Improving relationships
Creating sustainable coping patterns
Just like tending to physical health protects your body, tending to mental health protects your ability to live fully.
A Gentle Place to Begin
If you’re not sure where to start, you don’t have to solve everything today.
You might simply begin with this question:
Where do I want to be emotionally by the end of 2026?
Not where you think you should be. Not where someone else expects you to be.
But where you hope to be.
Do you want to feel:
More steady? Less overwhelmed? More connected? More at peace? More confident in how you handle stress?
Once you can name where you’d like to be, the next question becomes:
What kind of support might help me get there?
For some, that may look like leaning into trusted relationships.
For others, it may begin with building awareness: noticing patterns through intentional reflection.
And for many, it may include counseling – not because something is “wrong,” but because growth often happens more safely with guidance.
Reflection Questions
If you want to pause and consider your next step, you might reflect on:
Where do I hope to be emotionally by the end of 2026?
What kind of support would help me move toward that?
What is one small step I could take this week to care for my mental health?
You don’t have to wait until things are “bad enough” to seek support.
Sometimes the next step is connection. Sometimes it’s reflection. Sometimes it’s counseling.
All of them are valid.
All of them are part of caring for your whole health.
About Holly Rohring
Holly Rohring (@heyitscounselorholly) has over 10 years of experience as an educator and has been working in the mental health field since 2019. She has worked with teens and families in PHP/IOP settings, providing her with experience in the following areas: suicidal ideation, self-harm, psychosis, depression, anxiety, behavioral issues, academic/school concerns, family dynamics, parent/child relationships, personality disorders, mood disorders, adjustment disorders, and couples therapy.
Holly’s areas of specialty include: Cognitive Behavioral (CBT), Trauma-informed care, Exposure Response Prevention, Solution-Focused techniques, and Christian Counseling. She has the following trainings: Gottman Level 1 & Treating Affairs/Trauma, and Certified Clinical Anxiety Training.
In 2025, Holly and her twin sister, Heather Kell of Kell of a Plan, released their first Mental Health Journal. Intended for use individually or in tanedem with a counselor or therapist, the journal offers the following sections.
Mental Health Weekly Check-Ins: Foster self-awareness and track your emotional well-being.
Daily Mood Journaling: Use an emotion wheel and prompts to reflect on your feelings each day.
Fighting Anxiety: Confront and process stressors with practical, calming tools.
Gratitude Journaling: Cultivate a positive mindset through daily gratitude reflections.
Coloring Sheets: Embrace mindfulness and relaxation with calming, creative outlets.
Therapy Notes: A space to jot down key takeaways from therapy sessions or mental health insights.
Holly is a Licensed Professional Counselor who works to meet individuals and couples where they are. She believes that every client can build the life they desire and is passionate in aiding them to weather the storms of life.
Articles that might interest you
Explore related articles that expand on the topics covered in this post. Dive deeper into insights and ideas that might interest you.
By Holly Rohring (@heyitscounselorholly) We’ve all done it. You get into your car and start the familiar drive home from work—the same route you take every single day. If asked,…
By Holly Rohring (@heyitscounselorholly) We have all been there. On the receiving end of that story from that friend. We keep our focus on them as they retell the story…
By Holly Rohring (@heyitscounselorholly) The Hamster Wheel It starts with a simple text: “Can we talk later?” Five small words — harmless, right? But before you know it, your mind…
Starting this month, we’ll share questions from the Wendy Crafts community that are focused on our mental and emotional health — along with answers, advice, and guidance.
I have suffered with severe anxiety and panic attacks my entire life. It is truly a “hidden cross” and can bring shame and embarrassment. It is SO hard to hear, “Well, just get over it. Relax.” I’d love to hear more about coming to terms with anxiety, loving ourselves despite it, and believing we are NOT “broken.”
– Beth
Dear Beth,
First, I want to say this clearly: what you’re carrying is real- and it matters.
Anxiety and panic can feel like a hidden cross because so much of the suffering happens internally. On the outside, people may see someone functioning, smiling, showing up. On the inside, your body may feel hijacked- your chest tight, your heart racing, your thoughts spiraling. When that experience is met with comments like “Just relax” or “Get over it,” shame can quietly take root.
If it were that simple, you would have already done it.
One important thing to understand about panic attacks is that they are often not dangerous- even though they feel terrifying. Many times, a panic attack is the brain misinterpreting a normal or mildly uncomfortable sensation in the body and sounding a false alarm. A change in breathing, a flutter in the chest, lightheadedness, or tension can be read as threat, and suddenly the body shifts into full fight-or-flight mode.
That doesn’t mean you’re weak. It means your brain is trying- imperfectly- to protect you.
Anxiety, too, is rarely about something being “wrong” with you. More often, it has to do with what you’ve lived through, the environment you’ve had to adapt to, and the ways your nervous system learned to stay alert in order to cope. Over time, that vigilance can become exhausting- but it is learned, and learned patterns can change.
Coming to terms with anxiety doesn’t mean surrendering to it or defining yourself by it. It means learning to understand it without shame. It means shifting from “How do I make this go away?” to “How do I live a full life, even when anxiety shows up?”
Because the goal is not a life where anxiety never appears- this is where many of us go wrong. The goal is a life that doesn’t shrink in fear of it.
Loving yourself in the midst of anxiety often looks like meeting your body with compassion instead of criticism. It’s reminding yourself, “This is uncomfortable, but I am not in danger.” It’s allowing anxiety to pass through rather than organizing your entire life around avoiding it.
And I want to say this clearly: you are not broken.
You are a human who has adapted, survived, and kept going. Anxiety may be part of your story, but it is not your identity, and it is not a measure of your worth.
Healing doesn’t mean anxiety disappears. In fact, I would challenge you to look at it differently- with an understanding that it will in fact return. We must learn instead to walk with it- grounded, supported, and no longer ruled by fear.
You don’t have to “get over it” to be whole. You already are.
Sending you grace, Counselor Holly
About Holly Rohring
Holly Rohring (@heyitscounselorholly) has over 10 years of experience as an educator and has been working in the mental health field since 2019. She has worked with teens and families in PHP/IOP settings, providing her with experience in the following areas: suicidal ideation, self-harm, psychosis, depression, anxiety, behavioral issues, academic/school concerns, family dynamics, parent/child relationships, personality disorders, mood disorders, adjustment disorders, and couples therapy.
Holly’s areas of specialty include: Cognitive Behavioral (CBT), Trauma-informed care, Exposure Response Prevention, Solution-Focused techniques, and Christian Counseling. She has the following trainings: Gottman Level 1 & Treating Affairs/Trauma, and Certified Clinical Anxiety Training.
In 2025, Holly and her twin sister, Heather Kell of Kell of a Plan, released their first Mental Health Journal. Intended for use individually or in tanedem with a counselor or therapist, the journal offers the following sections.
Mental Health Weekly Check-Ins: Foster self-awareness and track your emotional well-being.
Daily Mood Journaling: Use an emotion wheel and prompts to reflect on your feelings each day.
Fighting Anxiety: Confront and process stressors with practical, calming tools.
Gratitude Journaling: Cultivate a positive mindset through daily gratitude reflections.
Coloring Sheets: Embrace mindfulness and relaxation with calming, creative outlets.
Therapy Notes: A space to jot down key takeaways from therapy sessions or mental health insights.
Holly is a Licensed Professional Counselor who works to meet individuals and couples where they are. She believes that every client can build the life they desire and is passionate in aiding them to weather the storms of life.
Articles that might interest you
Explore related articles that expand on the topics covered in this post. Dive deeper into insights and ideas that might interest you.
By Holly Rohring (@heyitscounselorholly) We’ve all done it. You get into your car and start the familiar drive home from work—the same route you take every single day. If asked,…
By Holly Rohring (@heyitscounselorholly) We have all been there. On the receiving end of that story from that friend. We keep our focus on them as they retell the story…
By Holly Rohring (@heyitscounselorholly) The Hamster Wheel It starts with a simple text: “Can we talk later?” Five small words — harmless, right? But before you know it, your mind…
For years as a counselor, I’ve sat across from believers who love God deeply – and still feel overwhelmed by anxiety.
They come into my office and express a sincere desire to trust God – yet their bodies tell a different story. Tight chests. Racing thoughts. Sleepless nights. A nervous system that won’t seem to quiet down, no matter how hard they feel like they try.
Over and over, I heard the same quiet confession:
“I love God, but anxiety still feels loud.”That tension – the space between faith and fear – is what inspired my new Bible study, The Anxious Believer.
The Need I Kept Seeing as a Christian Counselor
As a licensed professional counselor and a Christian, I began to notice this over and over again.
Many believers were carrying unnecessary shame about their anxiety. They wondered:
Why do I still struggle if I trust God?
Am I doing something wrong spiritually?
Is anxiety a sign of weak faith?
Others were trying to “pray away” symptoms their bodies had learned through years of stress, trauma, or chronic overwhelm. They loved God, but anxiety still showed up as racing thoughts, a tight chest, constant what-ifs, and a feeling of being on edge all the time.
What I saw clearly was this: Faith and anxiety are not opposites. And anxiety is not a spiritual failure.
I saw a deep need for a resource that honored both Scripture and the way God designed the brain and nervous system.
Why The Anxious Believer Is Different
I didn’t want to write another study that offered quick fixes or platitudes.
The Anxious Believer was created to meet readers in the middle of their lived experience – where faith is real, but anxiety is, too. That’s right, they can walk hand in hand. This Bible study is about finding the place where the existence of anxiety if not a threat to our faith as Christians.
This four-week Bible study blends:
Biblical truth that anchors identity and hope
Psychological insight that explains what anxiety actually is and why it shows up
Practical tools that help calm the body, challenge anxious thought patterns, and build emotional resilience
Each week includes daily lessons, guided prayers, reflection questions, and group discussion prompts- making it just as meaningful for personal study as it is for small groups or women’s ministries.
Rather than asking readers to ignore their anxiety, this study teaches them how to recognize it, respond to it wisely, and loosen its grip – without compromising their faith.
Shedding Anxiety as an Identity
One of the core messages of The Anxious Believer is this: Anxiety may be part of your experience, but it is not your identity.
Throughout the study, readers are gently invited to examine the stories they’ve been telling themselves- about God, about fear, and about who they are – and to replace them with truth rooted in Scripture.
This isn’t about pretending anxiety doesn’t exist. It’s about learning to walk with God through it, equipped with both spiritual wisdom and practical skills.
My Hope For You
If you’re someone who loves God but feels worn down by anxiety… If your mind races even when your heart wants peace… If you’ve ever wondered why trusting God doesn’t automatically quiet your nervous system…
You are not broken. You are not failing. And you are not alone.
My hope is that The Anxious Believer feels like a steady hand and a compassionate voice – one that reminds you that God meets you right where you are and invites you into healing that is both faithful and grounded.
Faith doesn’t require the absence of anxiety. It invites us to learn how to carry it differently.
Holly Rohring (@heyitscounselorholly) has over 10 years of experience as an educator and has been working in the mental health field since 2019. She has worked with teens and families in PHP/IOP settings, providing her with experience in the following areas: suicidal ideation, self-harm, psychosis, depression, anxiety, behavioral issues, academic/school concerns, family dynamics, parent/child relationships, personality disorders, mood disorders, adjustment disorders, and couples therapy.
Holly’s areas of specialty include: Cognitive Behavioral (CBT), Trauma-informed care, Exposure Response Prevention, Solution-Focused techniques, and Christian Counseling. She has the following trainings: Gottman Level 1 & Treating Affairs/Trauma, and Certified Clinical Anxiety Training.
In 2025, Holly and her twin sister, Heather Kell of Kell of a Plan, released their first Mental Health Journal. Intended for use individually or in tanedem with a counselor or therapist, the journal offers the following sections.
Mental Health Weekly Check-Ins: Foster self-awareness and track your emotional well-being.
Daily Mood Journaling: Use an emotion wheel and prompts to reflect on your feelings each day.
Fighting Anxiety: Confront and process stressors with practical, calming tools.
Gratitude Journaling: Cultivate a positive mindset through daily gratitude reflections.
Coloring Sheets: Embrace mindfulness and relaxation with calming, creative outlets.
Therapy Notes: A space to jot down key takeaways from therapy sessions or mental health insights.
Holly is a Licensed Professional Counselor who works to meet individuals and couples where they are. She believes that every client can build the life they desire and is passionate in aiding them to weather the storms of life.
Articles that might interest you
Explore related articles that expand on the topics covered in this post. Dive deeper into insights and ideas that might interest you.
By Holly Rohring (@heyitscounselorholly) We’ve all done it. You get into your car and start the familiar drive home from work—the same route you take every single day. If asked,…
By Holly Rohring (@heyitscounselorholly) We have all been there. On the receiving end of that story from that friend. We keep our focus on them as they retell the story…
By Holly Rohring (@heyitscounselorholly) The Hamster Wheel It starts with a simple text: “Can we talk later?” Five small words — harmless, right? But before you know it, your mind…
When meeting fellow crafters in my Omaha-area community and virtually around the world (literally!), our conversations often turn to the favorite items in our craft rooms.
From cardstock to adhesive, embellishments to storage, and everything in between — we like what we like and LOVE to discover new supplies.
Following a recent — and VERY FUN! — live YouTube guest appearance with Nancy and Lolly of Laurel Denise, our chitchat inevitably turned to our shared love of craft supplies. (Watch the entire reply below!)
Collecting? Hoarding? However we define our at-home inventory, what matters more is that we put our stash to work.
Which means not just having a variety of pretty things, but the right tools that deliver predictable, reliable results every single time.
Settle in and keep reading. Below are just some of my favorites.
Cardstock and Embellishments FTW (and Forever)
Some of my favorite, go-to, and beloved brands for cardstock and paper are listed below. Find them at your area craft store (shop local, friends!) or online.
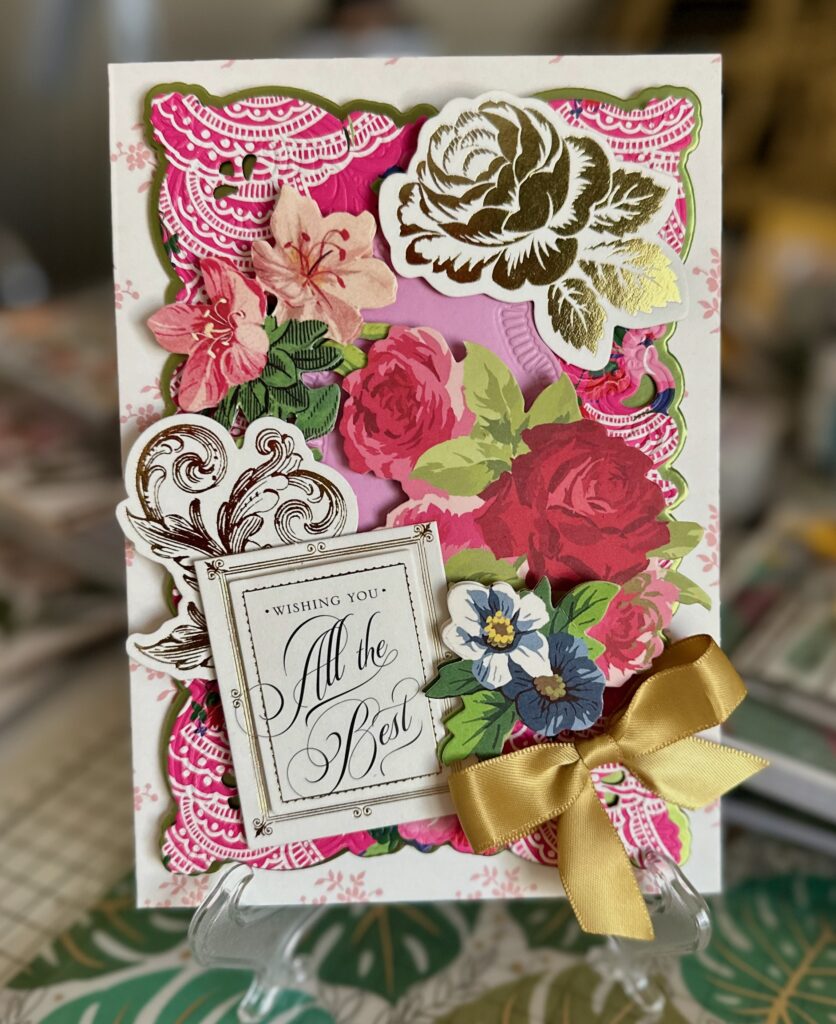
Anna Griffin: Love antique-inspired designs with embellishments and florals grounded in gold? Look no further than Anna Griffin.
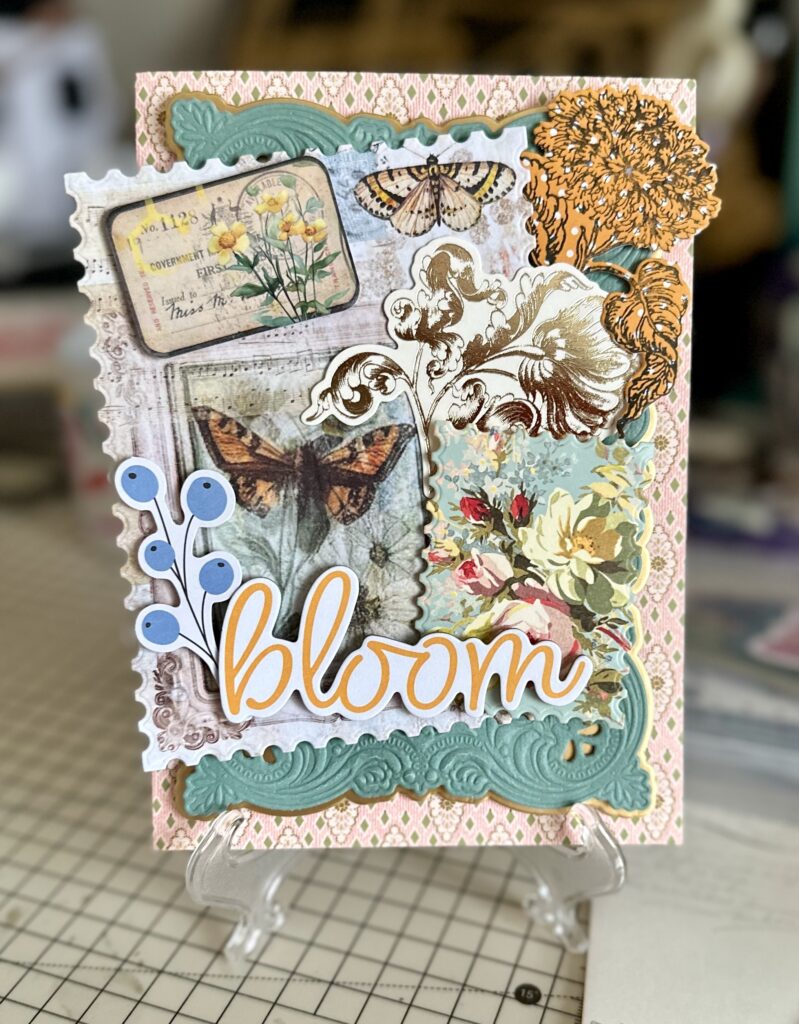
49 and Market: Annually featuring several papercrafting collections from global designers I turn to regularly, 49 and Market offers fresh takes using both bold colors and muted pallets. My three favorites are Vicki Boutin, Dennis Bruton, and Joanne Bain.
Echo Park: Often releasing collections with whimsical colors and charming designs, Echo Park is a great brand to turn to year-round.
Arden CreativeStudio: Based in the United Kingdom, Arden Creative Studio also celebrates colorful creativity with a number of designers each year, including two of my favorites: Andrea Lake and Katie Pertiet.
Adhesive and Glue Supplies to the Rescue
If you’re taking the time to craft something creative with your hands, you want it to last. Don’t skimp on the adhesive. Having a variety of quality options, sizes, and “stickiness” will ensure your projects will remain intact for years to come.
Foam dots (and squares and circles): Also referred to by crafters as “pop dots,” few things provide a 3D-layered design like these little sticky gems. You’ll find them online and in your favorite craft store. For a truly chunky card, use them on every layer.
Liquid glue: Used and loved by papercrafters, a single bottle of Bearly Art Precision Craft Glue will last a LONG time with the best results.
Double-sided tear tape: Easily and effortlessly customize your stickiest of crafting needs with just a few rolls. You’ll be surprised at the other uses you’ll discover for this versatile tape.
Adhesive runner: Fun to say, even more fun to use. This adhesive tool from Kingston Crafts is, hands down, one of the best on the market.
Crafty Tools to Keep Handy
Sometimes the less-pretty, more practical craft tools become your project’s BFF. Most are fairly inexpensive, meaning you can keep multiples available at different workstations or to take when crafting away from home.
Ruler: Sure, the wooden 12″ ruler you’ll find for $1 is a great start, but real crafters trust the weighty rulers by Cricut and Anna Griffin (part of her splurge-worthy complete crafting tool set). (I own AND regularly use both.)
Cordless glue gun: My dear friend Leslie gifted me this incredible CORDLESS glue gun. She stumbled upon it by accident and couldn’t ignore the numerous rave reviews. (Bless her!)
Weeder: You’ll find many imitators, but Cricut’s weeding tool is the best around. Do yourself a favor and buy more than one.
What Are the Best Cardmaking Supplies for Homemade Cards?
Craft Supplies
The best cardmaking supplies are key to stunning handmade cards. Explore cardstock, paper, embellishments, and tools for crafting unique designs today!
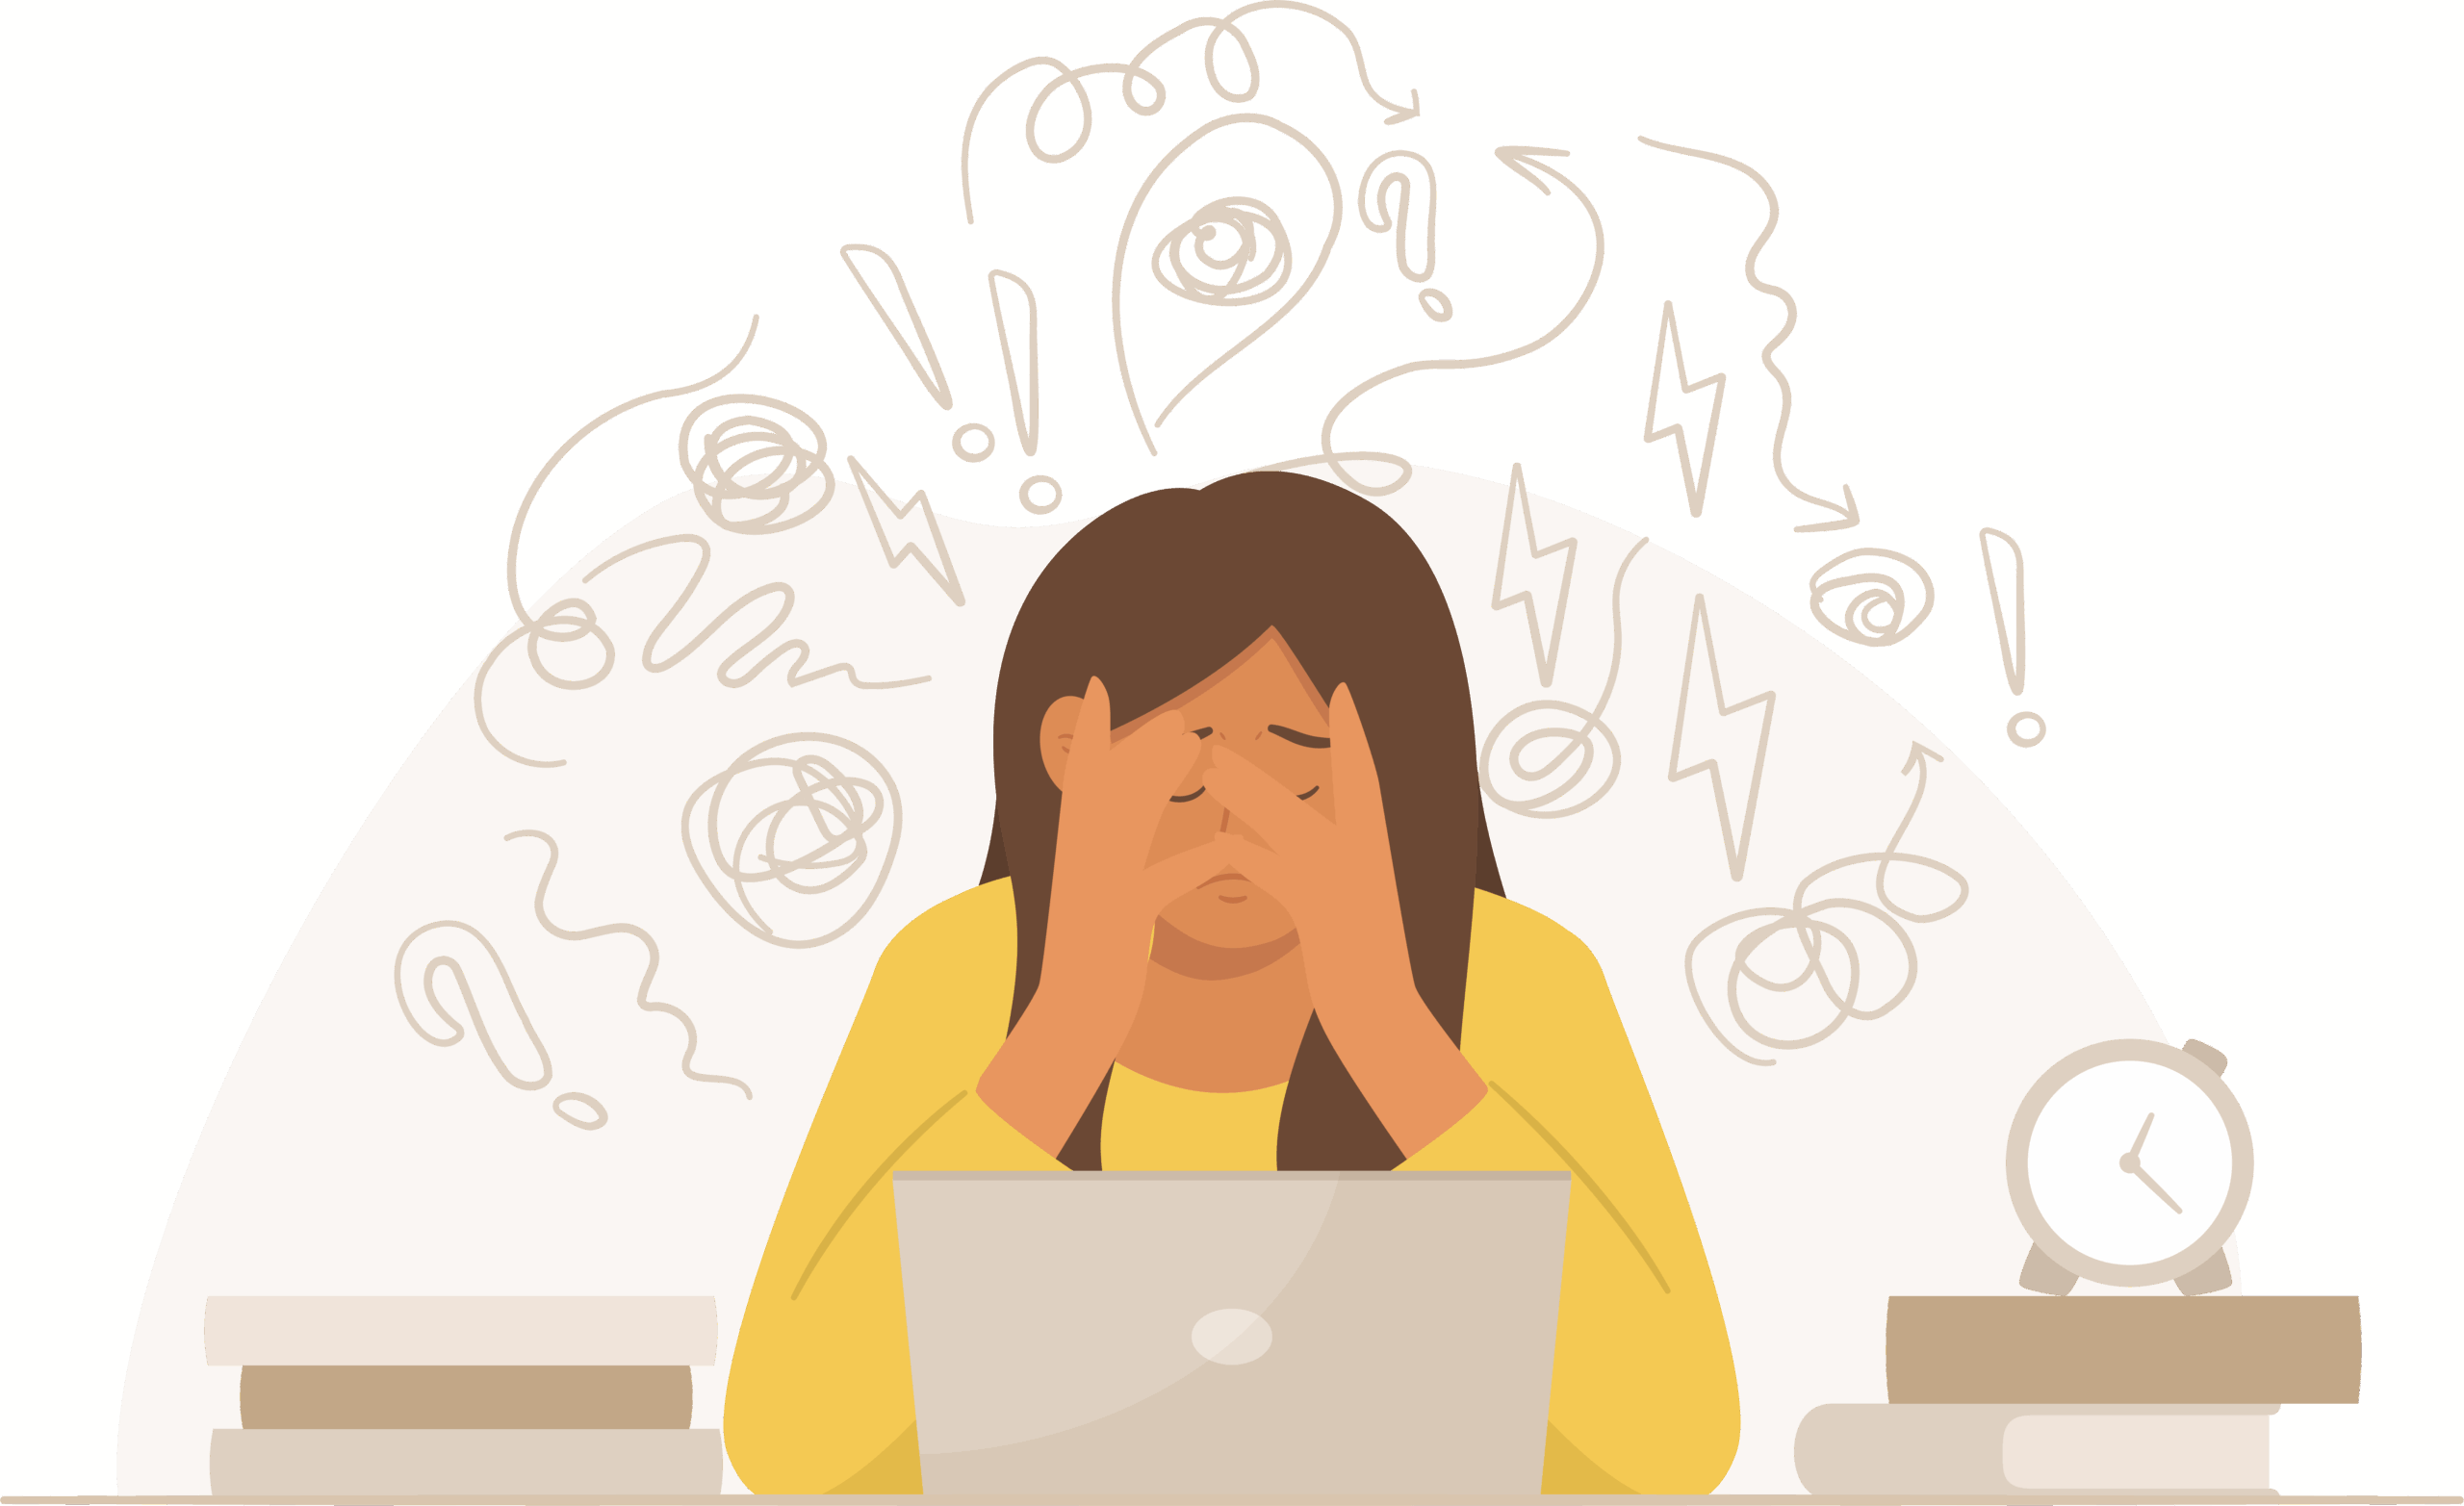
If you’ve ever found yourself stress-eating peppermint bark while staring at a calendar packed tighter than Santa’s workshop… welcome. You’re in good company.
The holiday season is supposed to be magical, but somehow it always turns into a marathon of events, obligations, shopping, and trying to remember which relative is allergic to what. And underneath all of that? Burnout- quietly waving from the corner like, “Hey, remember me?”
Burnout vs. Engagement: The Real Opposites
Burnout is that drained, hopeless feeling when your brain is basically running on the emotional equivalent of low-battery mode. Its opposite, engagement, is when you actually feel energized and connected to what you’re doing.
Fun fact: you cannot be engaged in life if you’re drowning in too many commitments. No one is “fully alive” while sprinting from event to event with a to-do list that multiplies like Christmas cookies.
Why Saying No Is Weirdly Joyful
We treat “no” like it’s a bad word, but honestly? It might just be the secret to enjoying your life again.
Wait, what?
Yes, saying “no” can actually be a good thing. If you use it in the right way.
Saying “no” creates margin. Saying “no” protects your mental health. Saying “no” means you get to show up to the things you actually care about without silently plotting your escape.
And during the holidays, saying “no” can become self-care with a bow on it- if you let it.
Boundaries: Your Holiday Season Survival Tool
The holidays love to tell us we must do everything. Go to all the gatherings! Say yes to every volunteer spot! Make twelve dozen cookies!
Meanwhile, burnout is like, “Please stop.”
But what if this year, instead of letting December chew you up and spit you out, you practiced saying “no” with confidence (and maybe a little sass)?
Because every time you say “no” to something draining, you say “yes” to something better–like rest, joy, or simply being able to feel your face again.
This holiday season, let your joy come from what you choose, not what you’re pressured into. You don’t have to do it all to be fully present. You don’t have to say yes to be valued. And you absolutely don’t have to run yourself into the ground to make the season meaningful.
Protect your peace. Guard your energy. And remember: every “no” creates space for a more intentional, joyful, wholehearted “yes.”
Reflection Questions
What holiday commitments energize me, and which ones secretly make me want to hide in the pantry?
Where do I need to give myself permission to say “no” this season?
What would it look like to enter January feeling rested instead of wrecked?
About Holly Rohring
Holly Rohring (@heyitscounselorholly) has over 10 years of experience as an educator and has been working in the mental health field since 2019. She has worked with teens and families in PHP/IOP settings, providing her with experience in the following areas: suicidal ideation, self-harm, psychosis, depression, anxiety, behavioral issues, academic/school concerns, family dynamics, parent/child relationships, personality disorders, mood disorders, adjustment disorders, and couples therapy.
Holly’s areas of specialty include: Cognitive Behavioral (CBT), Trauma-informed care, Exposure Response Prevention, Solution-Focused techniques, and Christian Counseling. She has the following trainings: Gottman Level 1 & Treating Affairs/Trauma, and Certified Clinical Anxiety Training.
In 2025, Holly and her twin sister, Heather Kell of Kell of a Plan, released their first Mental Health Journal. Intended for use individually or in tanedem with a counselor or therapist, the journal offers the following sections.
Mental Health Weekly Check-Ins: Foster self-awareness and track your emotional well-being.
Daily Mood Journaling: Use an emotion wheel and prompts to reflect on your feelings each day.
Fighting Anxiety: Confront and process stressors with practical, calming tools.
Gratitude Journaling: Cultivate a positive mindset through daily gratitude reflections.
Coloring Sheets: Embrace mindfulness and relaxation with calming, creative outlets.
Therapy Notes: A space to jot down key takeaways from therapy sessions or mental health insights.
Holly is a Licensed Professional Counselor who works to meet individuals and couples where they are. She believes that every client can build the life they desire and is passionate in aiding them to weather the storms of life.
Articles that might interest you
Explore related articles that expand on the topics covered in this post. Dive deeper into insights and ideas that might interest you.
By Holly Rohring (@heyitscounselorholly) We’ve all done it. You get into your car and start the familiar drive home from work—the same route you take every single day. If asked,…
By Holly Rohring (@heyitscounselorholly) We have all been there. On the receiving end of that story from that friend. We keep our focus on them as they retell the story…
By Holly Rohring (@heyitscounselorholly) The Hamster Wheel It starts with a simple text: “Can we talk later?” Five small words — harmless, right? But before you know it, your mind…
It starts with a simple text: “Can we talk later?” Five small words — harmless, right? But before you know it, your mind is sprinting.
Did I do something wrong? Maybe I shouldn’t have joked about that thing yesterday. No, it’s probably fine. But… what if it’s not?
By the time the conversation actually happens, you’ve already lived through fifteen versions of it in your head — each one worse than the last. And when it’s finally over, you realize you’re not tired from the talk itself… you’re tired from thinking about it all day.
That’s what overthinking does. It convinces you that you’re being productive — that you’re “just trying to be prepared” — when really, you’re stuck on a mental hamster wheel. You’re moving fast, but you’re not getting anywhere.
So, what exactly is overthinking? It’s when your mind fixates on a situation, analyzing it from every possible angle. Closely related is rumination — when your thoughts circle around something negative, replaying it over and over without finding resolution.
If you’re a “classic overthinker” or find yourself stuck in rumination, you’re not alone. These thought patterns often show up in anxiety, OCD, or depression. They feel sticky — intrusive thoughts that won’t leave you alone, no matter how much you reason with them.
And what do we usually do? We follow the trail the thought leaves behind. We scroll back through texts to make sure we didn’t say something wrong. We replay conversations, trying to find proof we’re okay. Or we imagine worst-case scenarios to “prepare” ourselves.
The problem is, all of that searching and reassurance only teaches your brain that these thoughts are threats that must be solved — and so the cycle continues.
Our brains are fascinating — and sometimes frustrating — machines. They’re wired to protect us from danger, which means they react to fear whether it’s real or imagined. Think about how a scary movie or a haunting story can make your heart race. The same thing happens when our thoughts trigger fear.
Overthinking and rumination strengthen those fear pathways, keeping your mind in a loop of worry and doubt. But the good news is, there’s a way out.
Here are a few simple steps to start breaking the cycle:
Acknowledge the thought. As soon as you notice it, gently label it: “I’m overthinking again.” Awareness is the first step toward change.
Self-soothe. You don’t have to fight your thoughts. Engage in something that calms your nervous system — a walk, a creative project, journaling, or deep breathing.
Reach out for support. Anxiety and depression are common and treatable. You don’t have to manage them alone.
Remember — emotions are like the check-engine lights on your dashboard. They’re not there to shame you; they’re there to signal you to slow down, open the hood, and see what needs care.
When you start noticing your thoughts instead of chasing them, you reclaim your peace — one moment at a time.
Reflection Questions
When do you notice yourself overthinking the most — at night, after conversations, or before big decisions?
What kinds of thoughts tend to loop for you? Are they about relationships, work, or self-doubt?
How does your body feel when you’re caught in overthinking — tense, restless, heavy?
What has helped you calm your mind before? Can you name one healthy strategy that brings peace?
If your emotions are “check engine lights,” what might they be signaling you to slow down and notice right now?
About Holly Rohring
Holly Rohring (@heyitscounselorholly) has over 10 years of experience as an educator and has been working in the mental health field since 2019. She has worked with teens and families in PHP/IOP settings, providing her with experience in the following areas: suicidal ideation, self-harm, psychosis, depression, anxiety, behavioral issues, academic/school concerns, family dynamics, parent/child relationships, personality disorders, mood disorders, adjustment disorders, and couples therapy.
Holly’s areas of specialty include: Cognitive Behavioral (CBT), Trauma-informed care, Exposure Response Prevention, Solution-Focused techniques, and Christian Counseling. She has the following trainings: Gottman Level 1 & Treating Affairs/Trauma, and Certified Clinical Anxiety Training.
In 2025, Holly and her twin sister, Heather Kell of Kell of a Plan, released their first Mental Health Journal. Intended for use individually or in tanedem with a counselor or therapist, the journal offers the following sections.
Mental Health Weekly Check-Ins: Foster self-awareness and track your emotional well-being.
Daily Mood Journaling: Use an emotion wheel and prompts to reflect on your feelings each day.
Fighting Anxiety: Confront and process stressors with practical, calming tools.
Gratitude Journaling: Cultivate a positive mindset through daily gratitude reflections.
Coloring Sheets: Embrace mindfulness and relaxation with calming, creative outlets.
Therapy Notes: A space to jot down key takeaways from therapy sessions or mental health insights.
Holly is a Licensed Professional Counselor who works to meet individuals and couples where they are. She believes that every client can build the life they desire and is passionate in aiding them to weather the storms of life.
Articles that might interest you
Explore related articles that expand on the topics covered in this post. Dive deeper into insights and ideas that might interest you.
By Holly Rohring (@heyitscounselorholly) We’ve all done it. You get into your car and start the familiar drive home from work—the same route you take every single day. If asked,…
By Holly Rohring (@heyitscounselorholly) We have all been there. On the receiving end of that story from that friend. We keep our focus on them as they retell the story…
Saying No as an Act of Joy: Escaping Burnout During the Holiday Rush
Your Mental Health
By Holly Rohring (@heyitscounselorholly) If you’ve ever found yourself stress-eating peppermint bark while staring at a calendar packed tighter than Santa’s workshop… welcome. You’re in good company. The holiday season…
We have all been there. On the receiving end of that story from that friend. We keep our focus on them as they retell the story of something scary or stressful that happened to them that week. Then they end it with that familiar saying, “I am so traumatized!”
So, what is trauma, and how do I know if I am dealing with it? If I were to stop you on the side of the street, microphone in hand, and ask you that question—would you be able to answer?
First, it’s important to recognize that trauma is not the event itself. Instead, it is a powerful emotional response to a distressing event. The event itself is the gateway—the door that can open to trauma symptoms. This explains how two people can experience a similar event and walk away with very different responses. One person may appear unbothered, while the other develops lingering symptoms that can start interfering with their daily life.
Trauma Symptoms, Explained
Trauma symptoms can last for years—even decades. Some of them include:
Nightmares and distressing dreams
Avoidance of reminders of the event—or even the memories themselves
Flashbacks that feel as if the event is happening all over again
Heightened startle response
Irritability, anger, or self-blame
Difficulty sleeping or concentrating
There is no single “recipe” for developing trauma symptoms; however, certain factors increase vulnerability. These include whether the event happened unexpectedly, occurred repeatedly over time, left the person feeling helpless, or occurred during childhood.
The truth is, most of us will experience distressing events at some point in our lives. The question becomes: How do we know if what we’re carrying is trauma? Often, people second-guess themselves when they start wondering this. They look at others and think: “But their experience was so much worse than mine. There’s no way what I went through counts as trauma.”
The reality is that comparing your distressing experiences to someone else’s is like comparing an orange to a pizza—it just doesn’t work. Everyone’s nervous system responds differently, and pain is not a competition. Your experience matters, and so does your healing.
Questions to Ask – and How to Heal
A helpful starting point is to ask yourself:
Are these memories or feelings interfering with my daily life or relationships?
Do I find myself avoiding people, places, or situations out of fear of being reminded?
Do I feel “stuck” in the past, unable to fully engage in the present?
If you answered yes to any of these, you may be experiencing trauma, and that recognition itself is powerful. Naming it opens the door to healing.
How to Begin Healing
Reach out for support. Whether it’s a trusted friend, counselor, or support group, healing happens in safe connection with others.
Practice grounding techniques. Deep breathing, mindfulness, and body-based practices like yoga can help anchor you when symptoms flare up. (Why? Because we know that trauma not only affects the mind, it also affects the body).
Honor your story. Journaling, creating rituals of remembrance, or talking with someone safe can help you give voice to your experience. Our instinct can often be to bury things and keep them hidden. The problem with this is that they still get stirred up unintentionally. Part of healing can often involve sharing your story with others, even if it starts with a trained professional.
Seek professional help if needed. Trauma-focused therapies (like EMDR, somatic experiencing, or CBT) are evidence-based ways to reduce symptoms and reclaim your life.
Healing from trauma is not about “getting over it”—it’s about learning to live with your experiences in a way that no longer controls you. Your story is not defined by what happened to you, but by how you move forward.
It’s Time to Journal
Reflecting on your healing journey — where you’ve been and what you need — is a helpful step. Grab your favorite notebook, journal, or even app, and work through these key questions.
When have I minimized or dismissed my own pain instead of acknowledging it?
What small step could I take this week to care for myself when difficult memories arise?
Who in my life can I trust to walk alongside me as I continue to heal?
About Holly Rohring
Holly Rohring (@heyitscounselorholly) has over 10 years of experience as an educator and has been working in the mental health field since 2019. She has worked with teens and families in PHP/IOP settings, providing her with experience in the following areas: suicidal ideation, self-harm, psychosis, depression, anxiety, behavioral issues, academic/school concerns, family dynamics, parent/child relationships, personality disorders, mood disorders, adjustment disorders, and couples therapy.
Holly’s areas of specialty include: Cognitive Behavioral (CBT), Trauma-informed care, Exposure Response Prevention, Solution-Focused techniques, and Christian Counseling. She has the following trainings: Gottman Level 1 & Treating Affairs/Trauma, and Certified Clinical Anxiety Training.
In 2025, Holly and her twin sister, Heather Kell of Kell of a Plan, released their first Mental Health Journal. Intended for use individually or in tanedem with a counselor or therapist, the journal offers the following sections.
Mental Health Weekly Check-Ins: Foster self-awareness and track your emotional well-being.
Daily Mood Journaling: Use an emotion wheel and prompts to reflect on your feelings each day.
Fighting Anxiety: Confront and process stressors with practical, calming tools.
Gratitude Journaling: Cultivate a positive mindset through daily gratitude reflections.
Coloring Sheets: Embrace mindfulness and relaxation with calming, creative outlets.
Therapy Notes: A space to jot down key takeaways from therapy sessions or mental health insights.
Holly is a Licensed Professional Counselor who works to meet individuals and couples where they are. She believes that every client can build the life they desire and is passionate in aiding them to weather the storms of life.
Articles that might interest you
Explore related articles that expand on the topics covered in this post. Dive deeper into insights and ideas that might interest you.
By Holly Rohring (@heyitscounselorholly) We’ve all done it. You get into your car and start the familiar drive home from work—the same route you take every single day. If asked,…
By Holly Rohring (@heyitscounselorholly) The Hamster Wheel It starts with a simple text: “Can we talk later?” Five small words — harmless, right? But before you know it, your mind…
Saying No as an Act of Joy: Escaping Burnout During the Holiday Rush
Your Mental Health
By Holly Rohring (@heyitscounselorholly) If you’ve ever found yourself stress-eating peppermint bark while staring at a calendar packed tighter than Santa’s workshop… welcome. You’re in good company. The holiday season…
You get into your car and start the familiar drive home from work—the same route you take every single day. If asked, you could probably list every intersection and count the exact number of traffic lights between your office and your driveway. It’s so routine, so ingrained, that you barely register the trip anymore.
Maybe you call a friend. Maybe your thoughts drift to dinner plans, weekend errands, or something someone said earlier. And then suddenly—you’re home. The key’s in the ignition, the engine is off, and you’re staring at your front door… but you don’t really remember the journey.
Was the light at the neighborhood entrance red or green? What song was on the radio? Did you stop for gas like you meant to?
You’re not sure. But somehow, you made it.
The Mental Health Parallel
You might be wondering: What does this have to do with mental health?
A lot, actually.
That drive home is more than just a commute—it’s a metaphor. It mirrors how we often move through life on autopilot. We get so caught up in routines, responsibilities, and noise that we stop noticing how we feel or what we truly need.
We wake up. We work. We scroll. We check out. Repeat.
At some point—maybe during a tough week, maybe in the middle of a breakdown—we realize we’re running on empty. Physically. Mentally. Emotionally.We don’t know how we got here. We just know we’re not okay.
Recognizing the Signs of Autopilot Living
Living on autopilot doesn’t always look like a crisis. Often, it looks like functioning:
Showing up to work
Meeting deadlines
Smiling on cue
But underneath, you may feel:
Disconnected from yourself or others
Tired even after resting
Numb or irritable for no clear reason
Lost in thought but never fully present
Unsure of what you want or feel
If this sounds familiar, you’re not alone. And more importantly — you’re not broken. You’re human.
How Creativity Can Help Shift You Out of Autopilot
The good news? Awareness is the first step back to joy.
Here are a few gentle ways to reconnect with your creativity and mental well-being:
1. Check in with yourself daily.
Ask, “How am I really feeling today?” Be honest. Make space for gratitude and give yourself permission to rest or recharge. Pick up a creative hobby just for you—not to be perfect, but to feel.
2. Create small pauses.
Take a few deep breaths before starting your car. Sit quietly with your morning coffee. Step outside. These moments can ground you in the now.
3. Be curious, not critical.
When you feel off, ask yourself why—with kindness. Mistakes, detours, and messy days are part of life and creativity alike.
4. Limit multitasking.
Try doing one thing at a time with full attention. Whether you’re crafting, cooking, or simply eating a meal—practice being fully there. It’s a powerful form of mindfulness.
5. Seek connection.
Talk to a friend. Join a creative group. Write. Reach out for professional help if you need it. You deserve support.
6. Celebrate presence.
Notice the colors around you. Feel the texture of fabric or paint in your hands. Smell your tea. Creativity lives in these little moments—they remind you you’re here, and that’s enough.
Coming Back to Yourself
Autopilot happens—but you don’t have to stay there.
Through creativity and small, mindful acts, you can come back to yourself. Back to joy. Back to presence.
You don’t need a big life change. Just one small moment of awareness. One act of creation. One deep breath.
Let that be enough for today.
About Holly Rohring
Holly Rohring (@heyitscounselorholly) has over 10 years of experience as an educator and has been working in the mental health field since 2019. She has worked with teens and families in PHP/IOP settings, providing her with experience in the following areas: suicidal ideation, self-harm, psychosis, depression, anxiety, behavioral issues, academic/school concerns, family dynamics, parent/child relationships, personality disorders, mood disorders, adjustment disorders, and couples therapy.
Holly’s areas of specialty include: Cognitive Behavioral (CBT), Trauma-informed care, Exposure Response Prevention, Solution-Focused techniques, and Christian Counseling. She has the following trainings: Gottman Level 1 & Treating Affairs/Trauma, and Certified Clinical Anxiety Training.
In 2025, Holly and her twin sister, Heather Kell of Kell of a Plan, released their first Mental Health Journal. Intended for use individually or in tanedem with a counselor or therapist, the journal offers the following sections.
Mental Health Weekly Check-Ins: Foster self-awareness and track your emotional well-being.
Daily Mood Journaling: Use an emotion wheel and prompts to reflect on your feelings each day.
Fighting Anxiety: Confront and process stressors with practical, calming tools.
Gratitude Journaling: Cultivate a positive mindset through daily gratitude reflections.
Coloring Sheets: Embrace mindfulness and relaxation with calming, creative outlets.
Therapy Notes: A space to jot down key takeaways from therapy sessions or mental health insights.
Holly is a Licensed Professional Counselor who works to meet individuals and couples where they are. She believes that every client can build the life they desire and is passionate in aiding them to weather the storms of life.
Articles that might interest you
Explore related articles that expand on the topics covered in this post. Dive deeper into insights and ideas that might interest you.
By Holly Rohring (@heyitscounselorholly) We have all been there. On the receiving end of that story from that friend. We keep our focus on them as they retell the story…
By Holly Rohring (@heyitscounselorholly) The Hamster Wheel It starts with a simple text: “Can we talk later?” Five small words — harmless, right? But before you know it, your mind…
Saying No as an Act of Joy: Escaping Burnout During the Holiday Rush
Your Mental Health
By Holly Rohring (@heyitscounselorholly) If you’ve ever found yourself stress-eating peppermint bark while staring at a calendar packed tighter than Santa’s workshop… welcome. You’re in good company. The holiday season…