By Holly Rohring (@heyitscounselorholly)
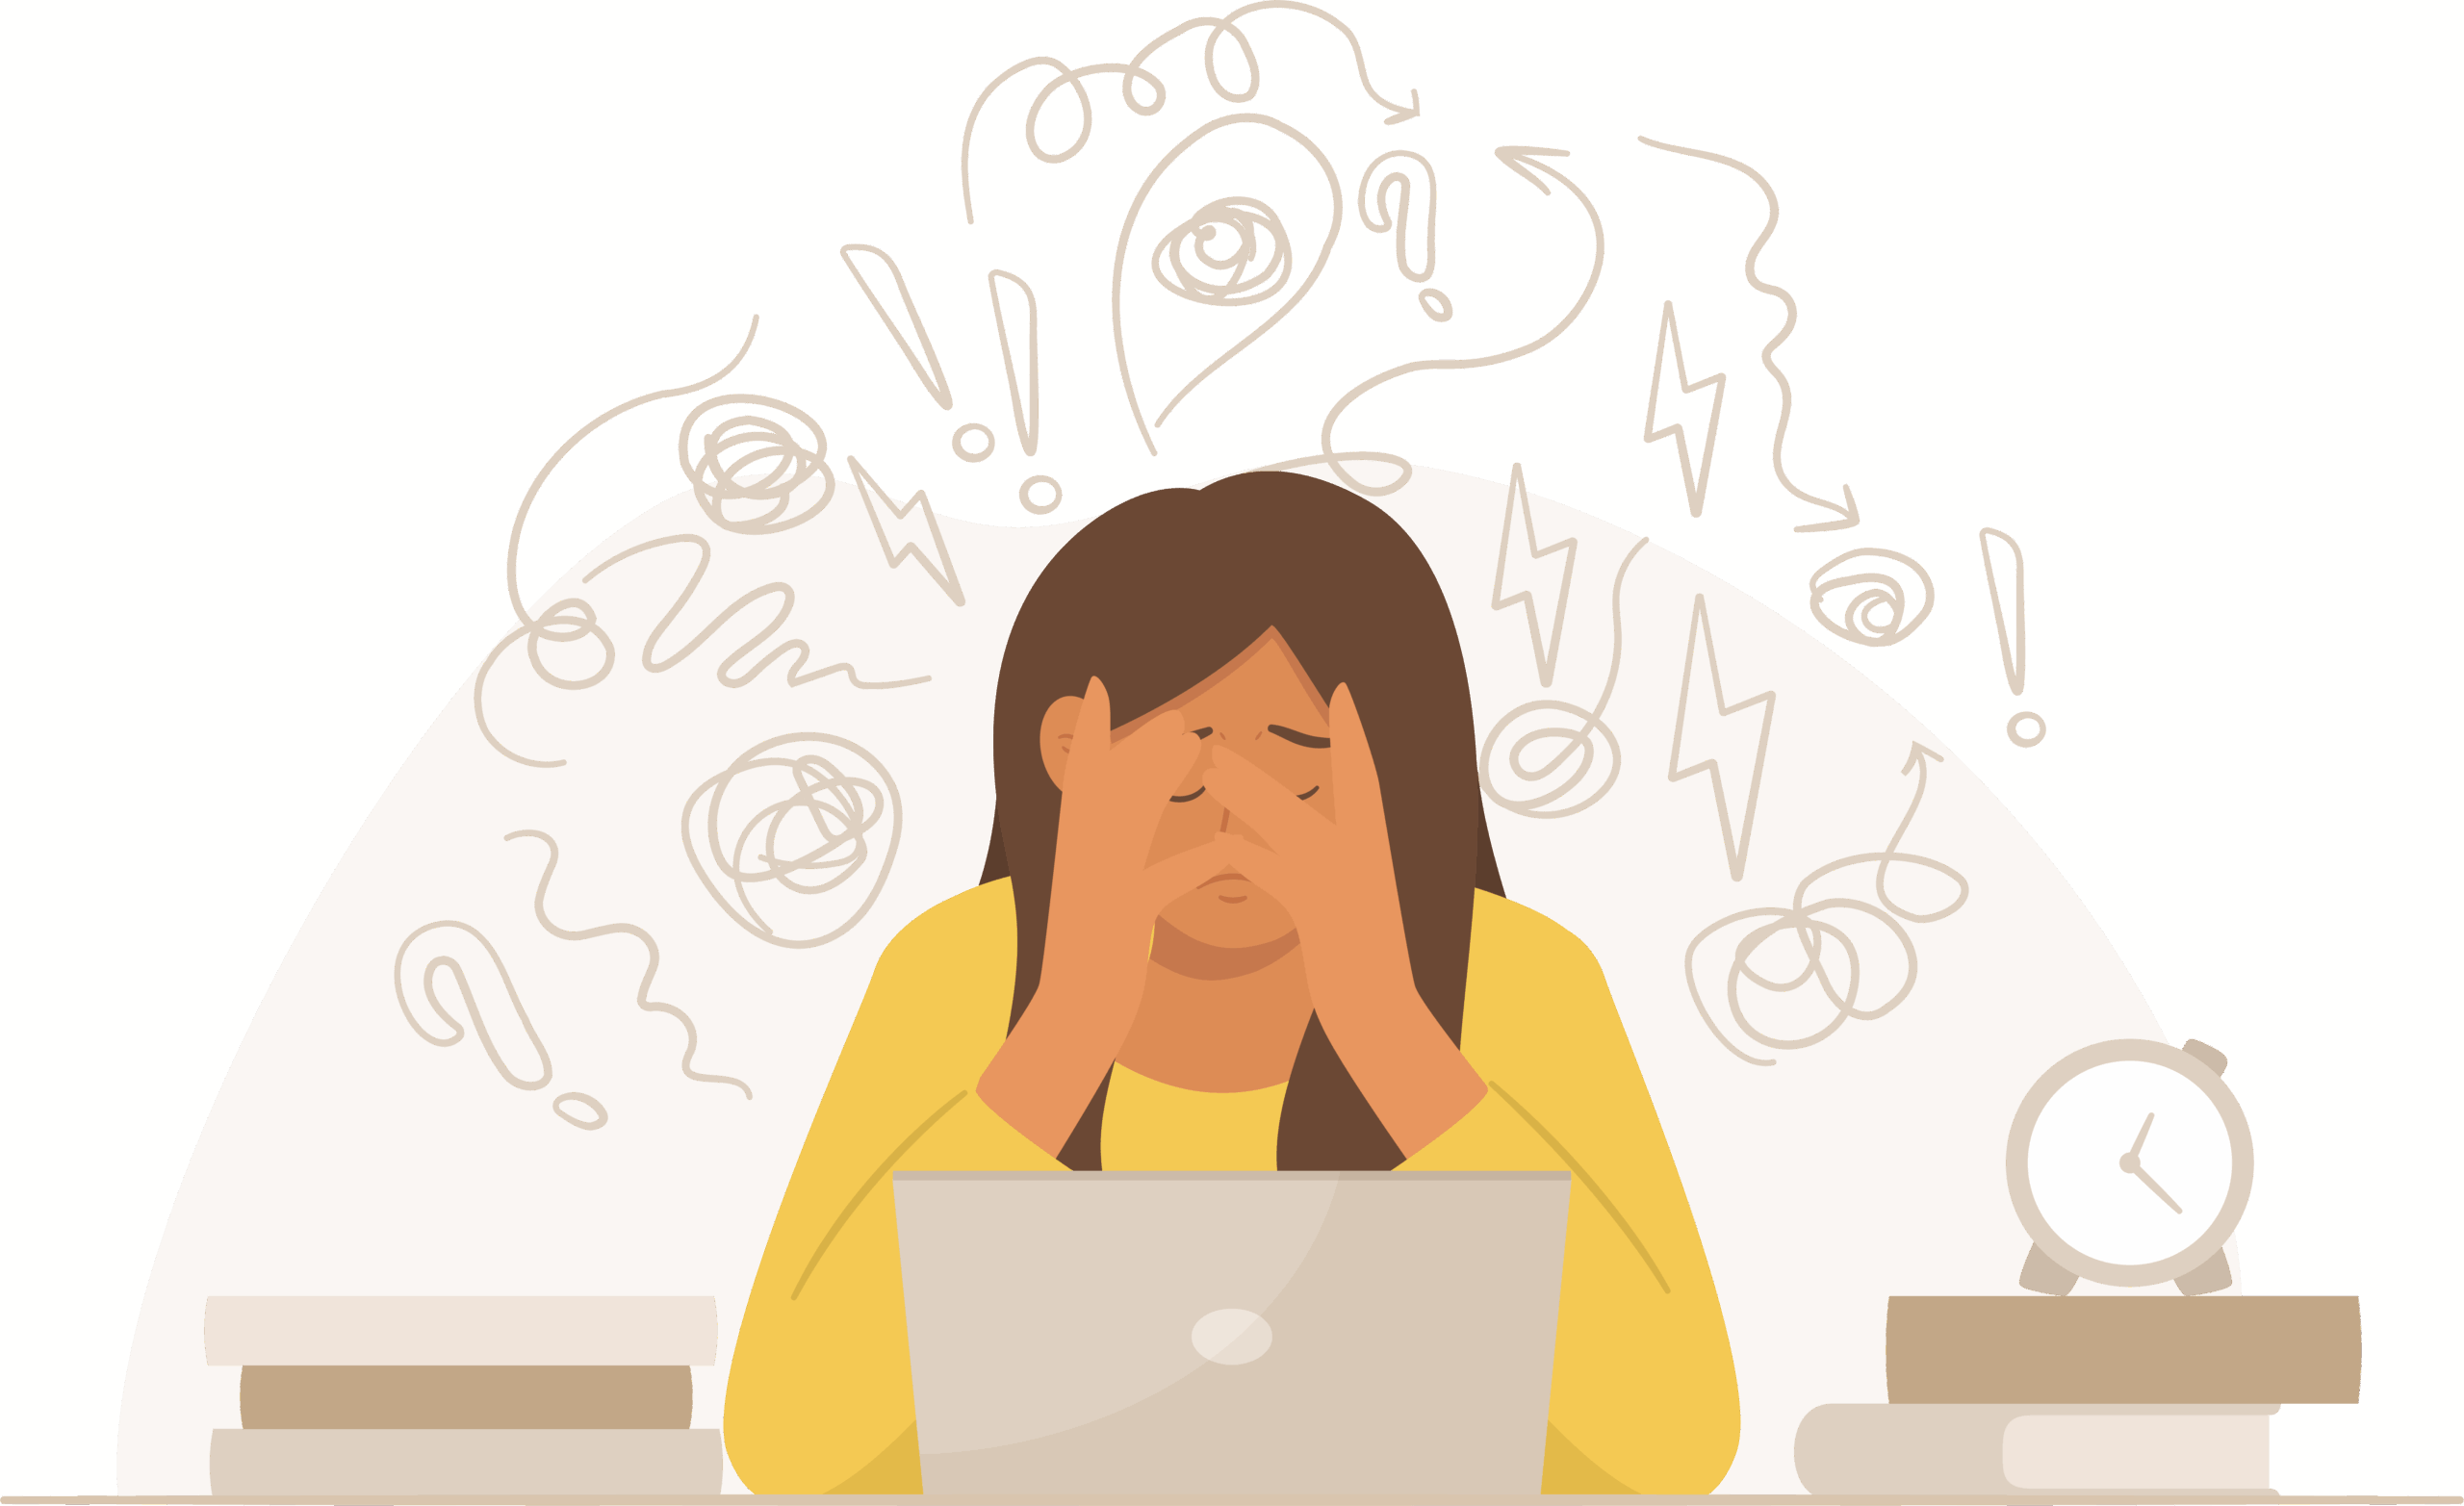
There’s a quiet kind of exhaustion that doesn’t always get named.
It’s not just being tired, but being needed from every direction.
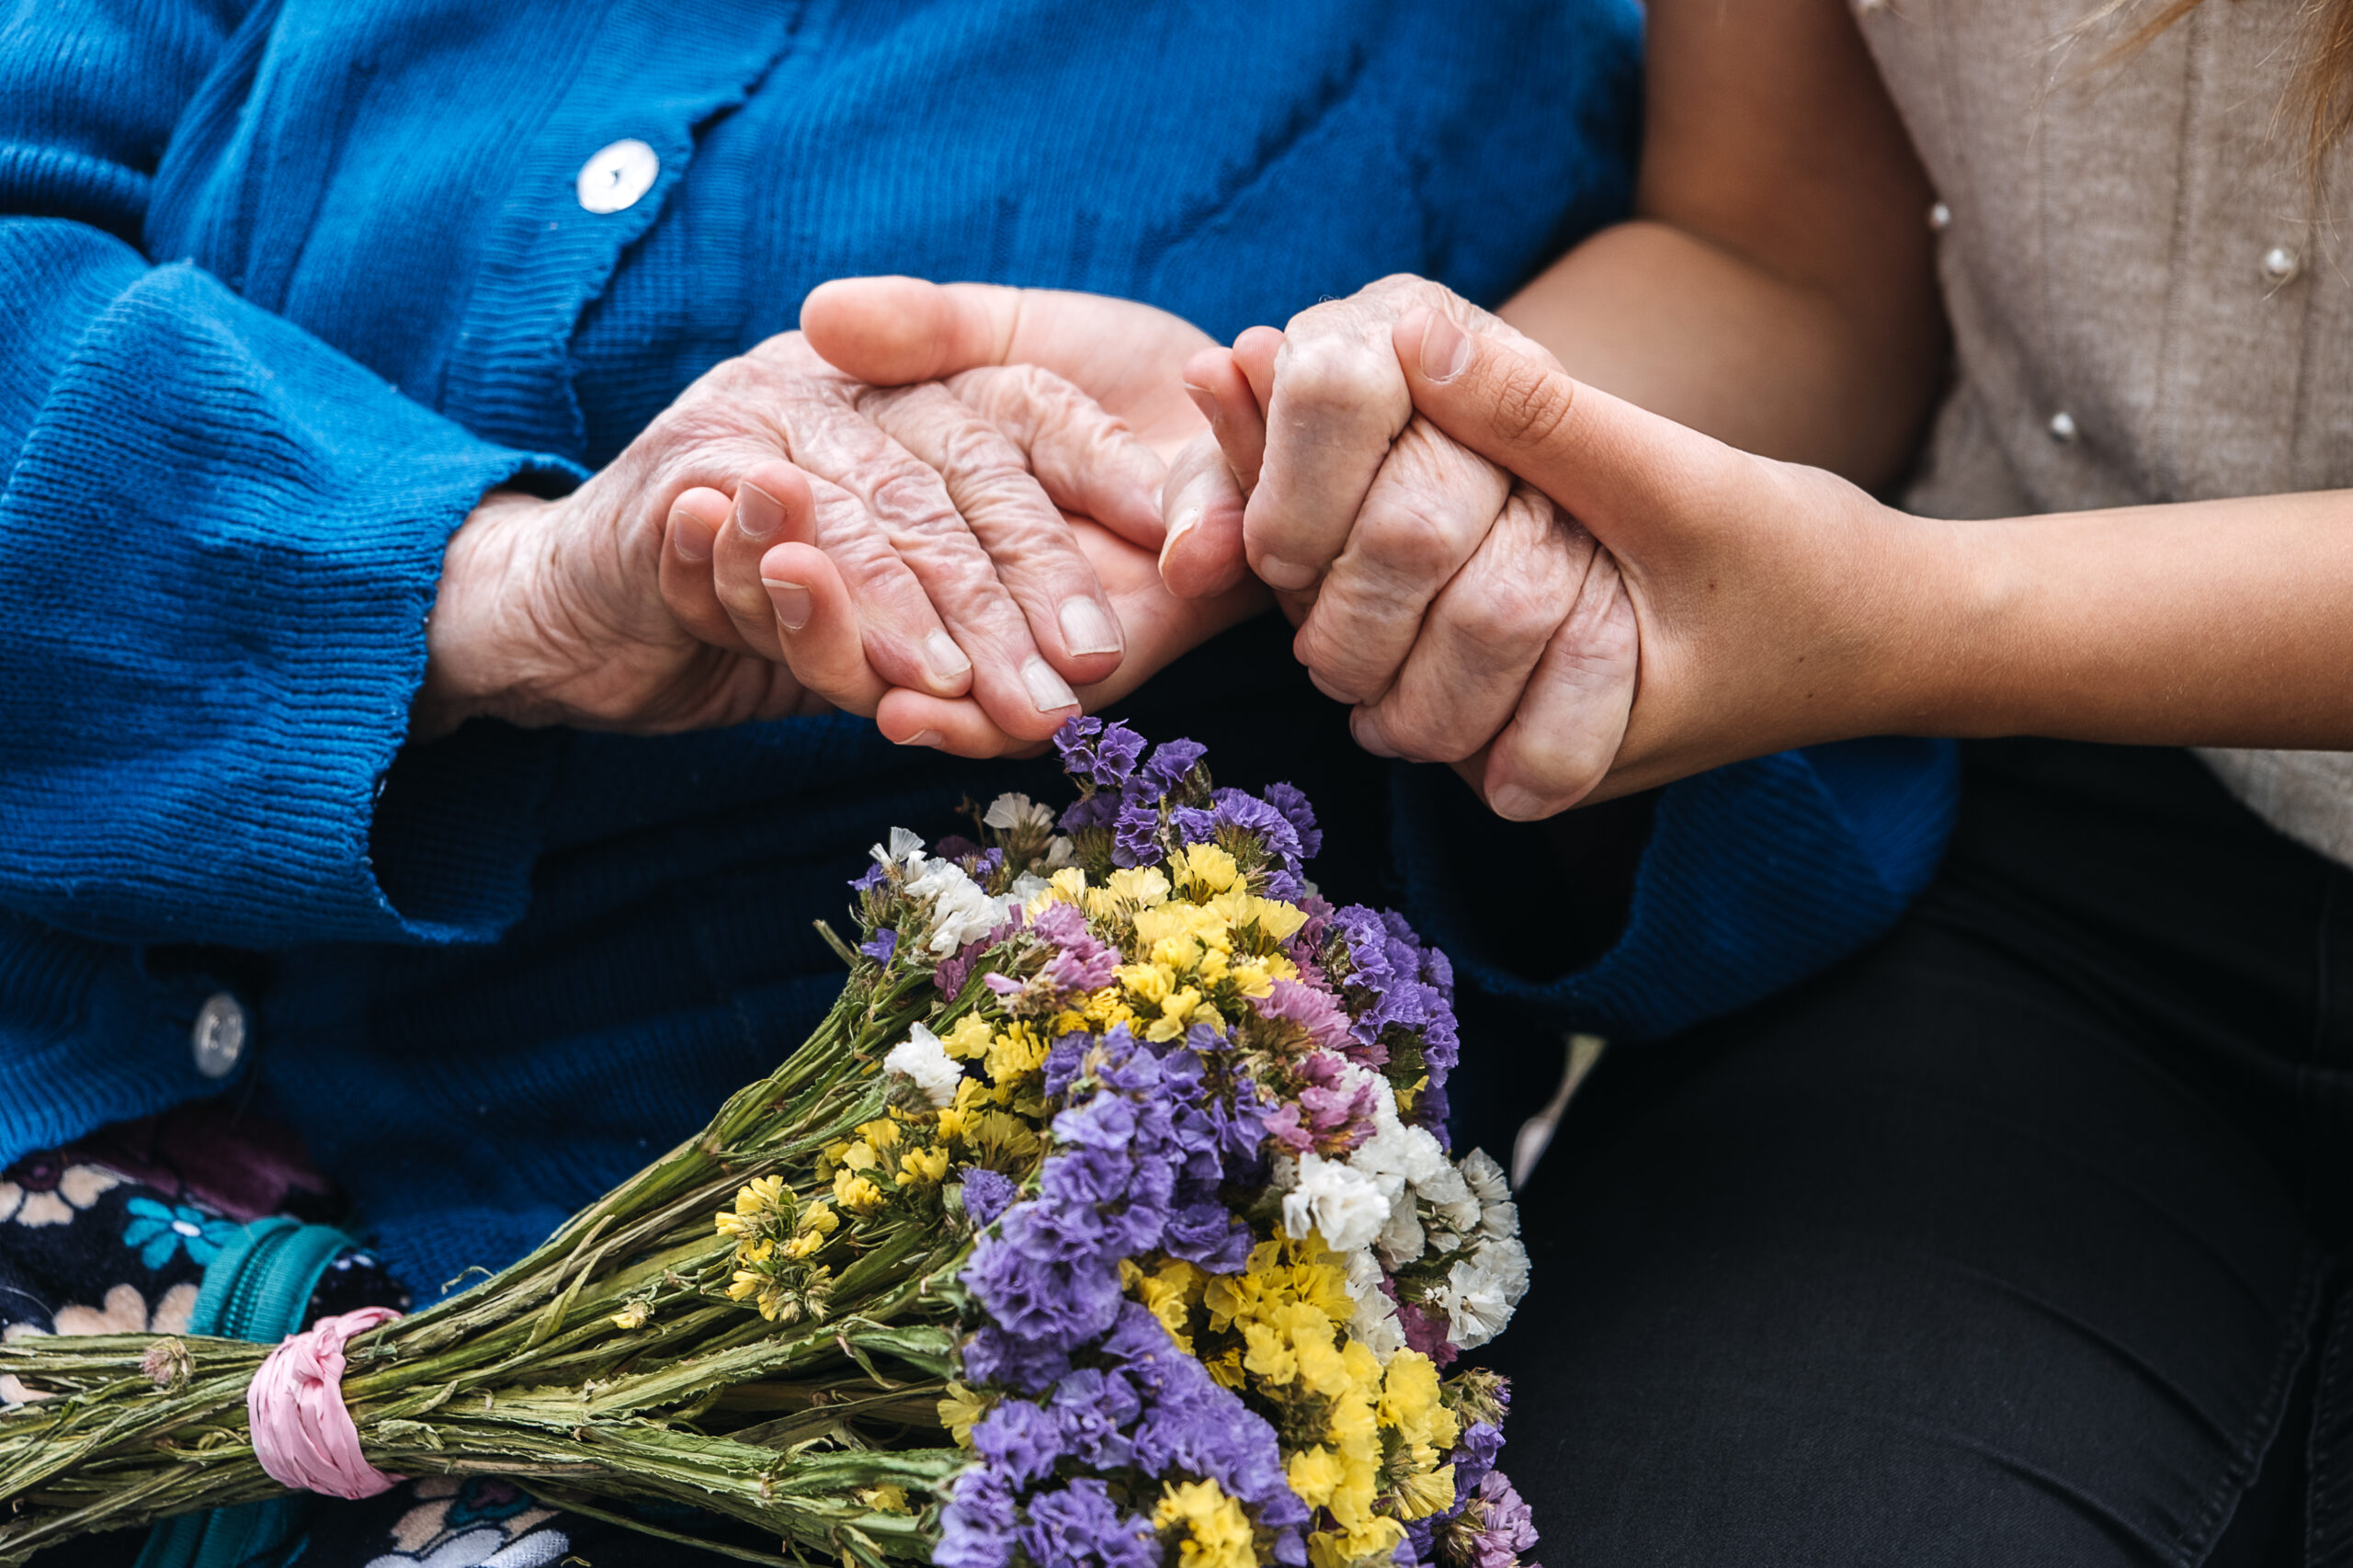
You’re helping your kids navigate their world while also checking in on aging parents. You’re managing appointments, emotions, responsibilities, and expectations, often without much space to process your own.
If this feels familiar, you may be part of what’s often called the sandwich generation – those caring for both the next generation and the one before them at the same time.
And while it’s a role filled with love and purpose, it can also feel incredibly heavy.
The Weight You Carry (That Others Don’t Always See)
Being in this position often means:
- You’re the default person everyone calls
- Your needs come last, if they come at all
- You’re constantly switching roles: parent, child, advocate, helper
- You carry emotional weight for multiple people at once
And over time, this can lead to something deeper than stress; it can lead to emotional depletion. Not because you’re doing something wrong, but because you’ve been doing too much for too long without enough support.
Why Self-Care Feels So Hard Here
Self-care sounds simple in theory.
But when you’re caring for others, it can feel:
- Selfish
- Impractical
- Like “one more thing” on your list
- Or even impossible
You might think:
“I’ll take care of myself when things slow down.”
But for many in this season, things don’t slow down. Which means self-care has to shift from something extra to something essential.
Redefining Self-Care in This Season
Self-care doesn’t have to mean long breaks, spa days, or time you don’t have.
Sometimes, it looks like:
- Saying “not today” or instead of always saying yes
- Incorporating care into your schedule, instead of dropping everything at once to attend to a need
- Using your “me time” wisely
- Letting something be “good enough” instead of perfect
- Asking for help, even if it feels uncomfortable
- Not absorbing every emotion around you
Self-care, in this season, is less about escape – and more about sustainability.
You Are Allowed to Have Needs Too
One of the hardest parts of caregiving is this unspoken belief:
“Everyone else needs me more.”
But your needs don’t disappear just because others have needs.
You are not just a caregiver.
You are a person.
And when your emotional, mental, and physical reserves are constantly depleted, it doesn’t just affect you; it impacts how you’re able to show up for others too.
Boundaries Are Not a Failure of Love
Boundaries can feel uncomfortable, especially if you’re used to being the reliable one.
But boundaries are not about pushing people away. They’re about creating space where you can continue to care without burning out.
Boundaries might look like:
- Not answering every call immediately
- Delegating responsibilities when possible
- Setting limits on how much you can emotionally carry
- Choosing rest without guilt
Caring for others should not require losing yourself in the process.
If You Feel Stuck in the Middle
If you feel pulled in multiple directions.
If you feel like you’re constantly holding everything together.
If you feel unseen in the middle of it all.
You’re not alone.
And more importantly: you’re not meant to do this without support.
A Gentle Reminder
You don’t have to earn rest.
You don’t have to prove your worth through how much you carry.
And you don’t have to do everything for everyone, all the time.You are allowed to care deeply for others-
and still care for yourself, too.
Reflection Questions
Take a moment to pause and gently check in with yourself.
- Where in my life am I giving the most right now- and where might I be running on empty?
(Notice this without judgment, just awareness.) - What is one small way I can care for myself this week that feels realistic, not overwhelming?
(Think sustainable, not perfect.) - Is there something I’ve been carrying alone that I might need support with?
(What would it look like to let someone in, even just a little?)

About Holly Rohring
Holly Rohring (@heyitscounselorholly) has over 10 years of experience as an educator and has been working in the mental health field since 2019. She has worked with teens and families in PHP/IOP settings, providing her with experience in the following areas: suicidal ideation, self-harm, psychosis, depression, anxiety, behavioral issues, academic/school concerns, family dynamics, parent/child relationships, personality disorders, mood disorders, adjustment disorders, and couples therapy.
Her first book – The Anxious Believer Bible study – was published in 2025.
Holly’s areas of specialty include: Cognitive Behavioral (CBT), Trauma-informed care, Exposure Response Prevention, Solution-Focused techniques, and Christian Counseling. She has the following trainings: Gottman Level 1 & Treating Affairs/Trauma, and Certified Clinical Anxiety Training.
In 2025, Holly and her twin sister, Heather Kell of Kell of a Plan, released their first Mental Health Journal. Intended for use individually or in tanedem with a counselor or therapist, the journal offers the following sections.
- Mental Health Weekly Check-Ins: Foster self-awareness and track your emotional well-being.
- Daily Mood Journaling: Use an emotion wheel and prompts to reflect on your feelings each day.
- Fighting Anxiety: Confront and process stressors with practical, calming tools.
- Gratitude Journaling: Cultivate a positive mindset through daily gratitude reflections.
- Coloring Sheets: Embrace mindfulness and relaxation with calming, creative outlets.
- Therapy Notes: A space to jot down key takeaways from therapy sessions or mental health insights.
Holly is a Licensed Professional Counselor who works to meet individuals and couples where they are. She believes that every client can build the life they desire and is passionate in aiding them to weather the storms of life.